Why I Started Cutting My Own Hair
It all started during the early months of lockdown. My hair was breaking at the ends, salons were not open and I missed getting a trim. Once I finished watching many DIY tutorials and a trending TikTok video, I used my scissors and hoped things would go well.
Now, I see that there is more to cutting your own hair than just saving money. It’s about confidence, self-reliance, and embracing imperfection. This guide will teach you how to cut your own money if you’re hoping to go further than starting a bank account.
This article is perfect for:
- A person who wants to avoid spending money and time at the salon
- Anyone who wants more control over their hair routine
- First-timers curious but nervous about DIY haircuts
Top 10 Solutions to Giving Yourself an At-Home Haircut
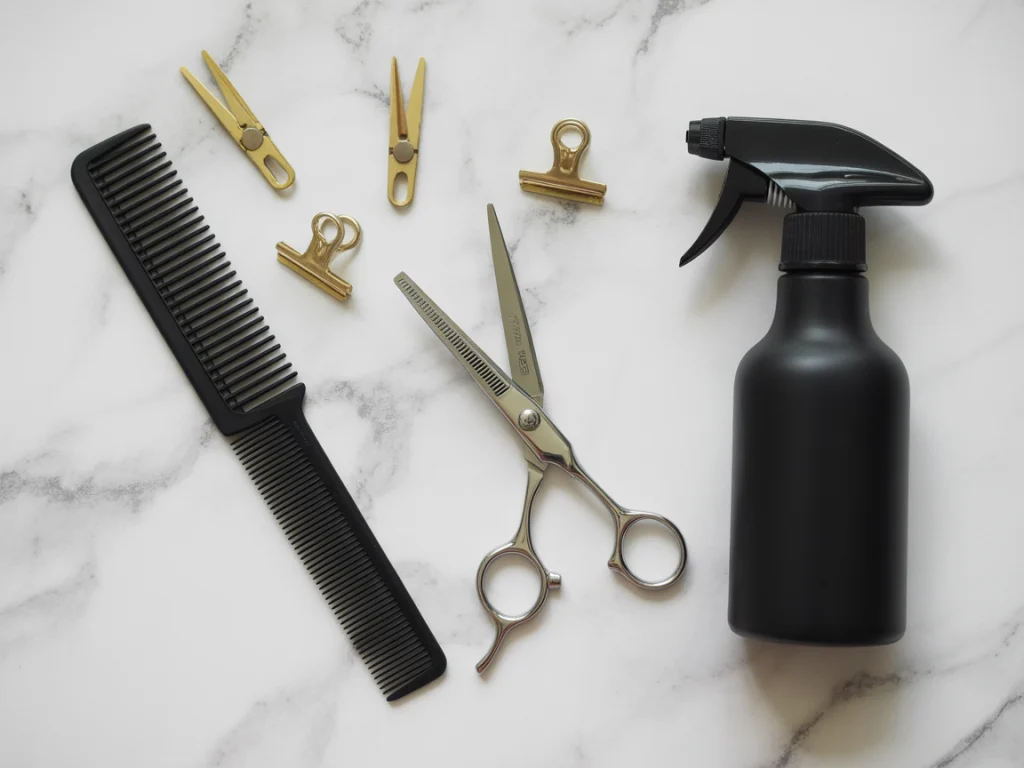
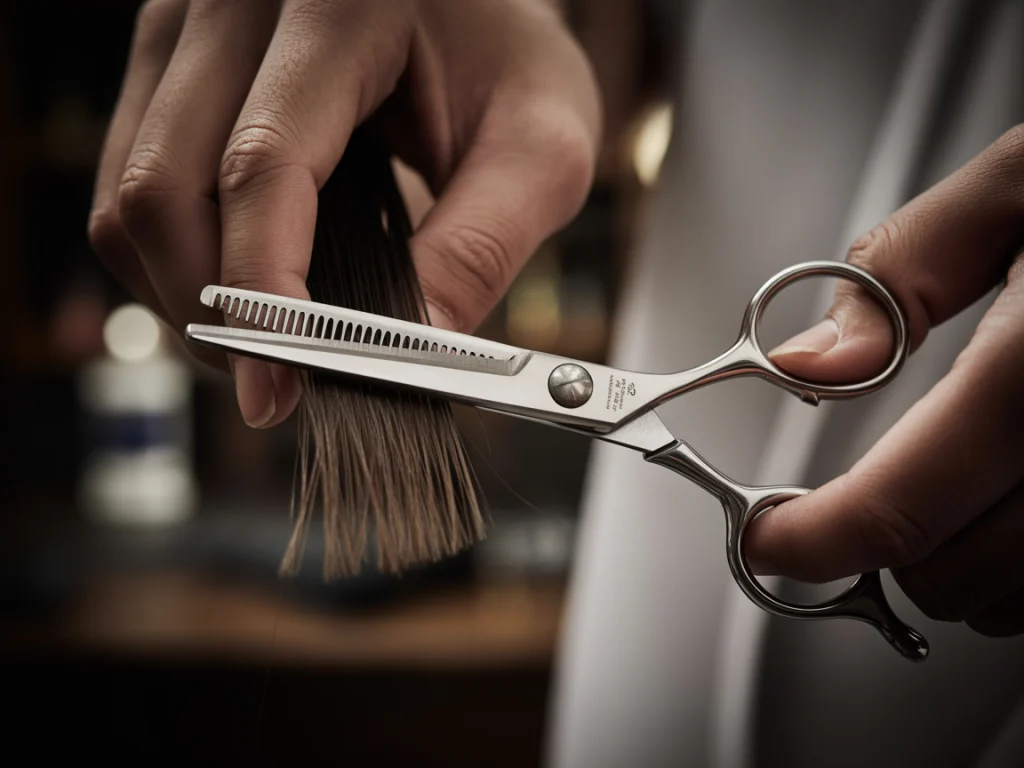
1. Invest in the Right Tools
Trust me, dull kitchen scissors are not your friend. I did it once like a rookie and realized how much I had lost. High-quality shears, some special clips, a comb and a small mirror add so much to the process. It’s enough to have a few basic items instead of every tool.
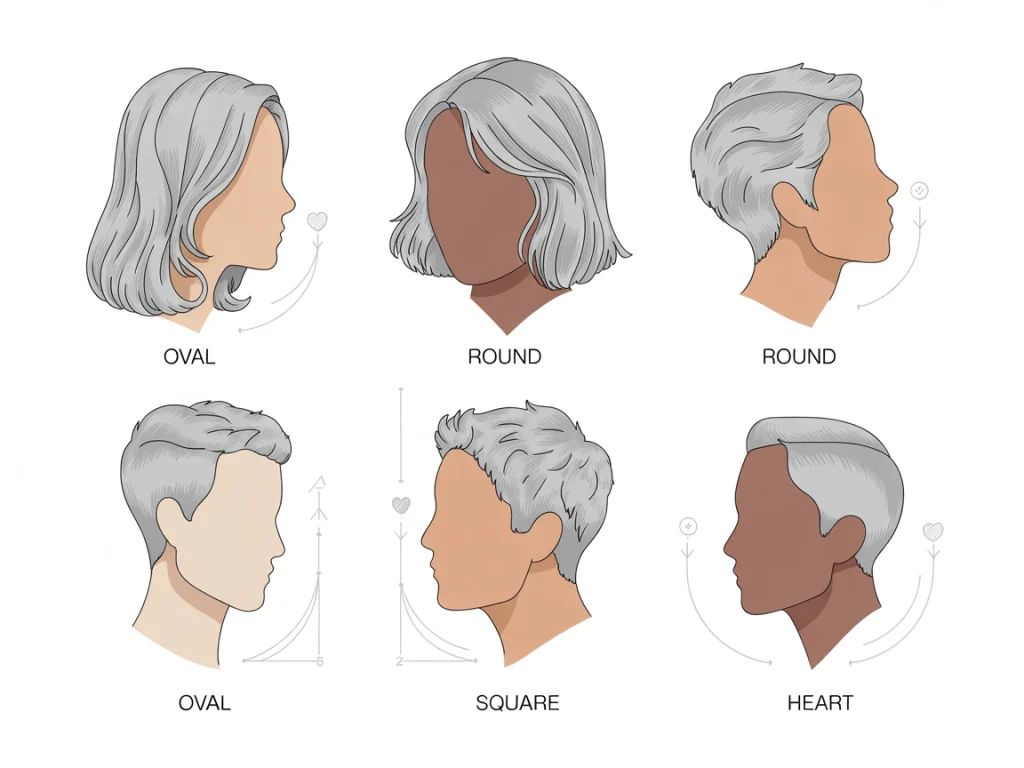
2. Know Your Hair Type and Face Shape
Pick up your scissors only after understanding the nature of your hair and the shape of your face. Is your hair thick, fine, curly, or straight? Different hair types behave differently when cut. A round face looks nice with soft layers, while a square face looks better with rigid lines. I didn’t pay attention to it until an unflattering haircut showed too many flaws in my face structure.
3. Start with Small Trims
If you’re nervous (and who wouldn’t be?), start slow. Trim a tiny amount and check the mirror. I believe it’s better to leave a little more during your last attempt, as you can always adjust and remove more later. To this day, I rarely amend more than half an inch at once because it allows me to change direction when needed.
4. Work with Dry Hair First
Dry cutting changed everything for me. Curly hair tends to reduce in size when it’s still wet, so you may notice different outcomes compared to dry hair. When I cut bangs while my hair was still wet, they moved up higher and made me appear surprised for days afterwards. When dry cutting, you can view the final result as you go along.
5. Use the “Unicorn” Method for Layers
This method is a lifesaver. Comb your hair ahead of your forehead and tie it all up in a high ponytail, then cut the end of the ponytail. It creates soft, face-framing layers. I used this before going to the beach and it worked fine despite the wind and humidity.
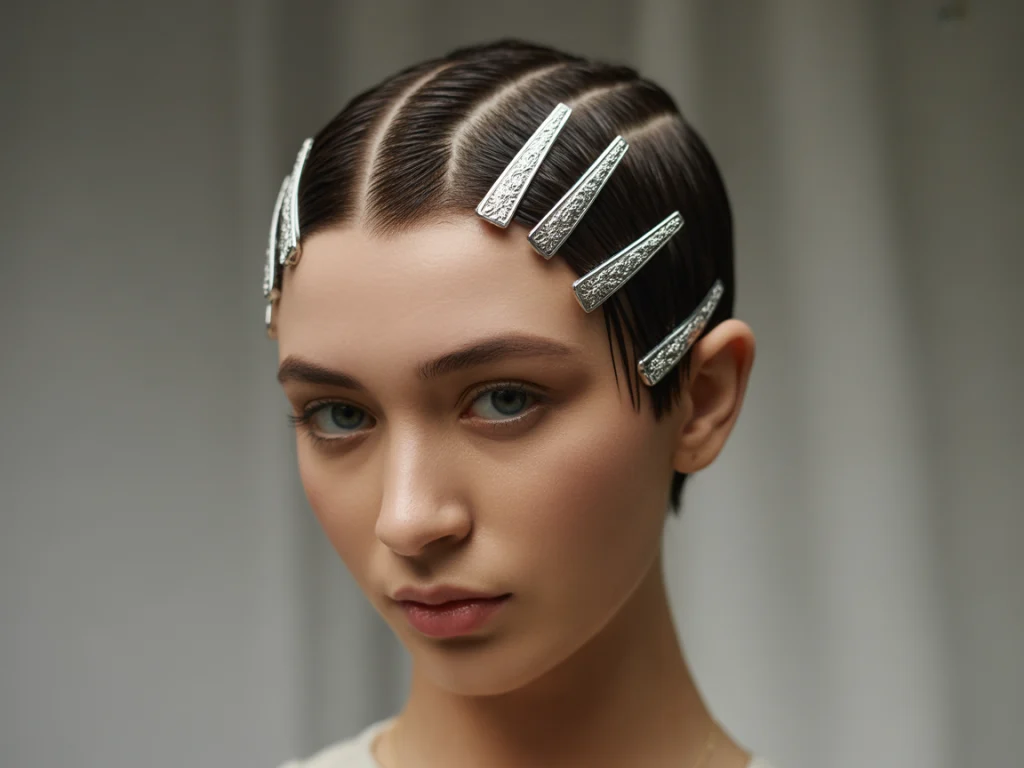
6. Section Like a Pro
Sectioning your hair is a great way to prevent uneven cuts. Divide it into 4–6 equal parts using clips. I used to rush and skip this step—bad idea. I approach each section individually, as it adds balance and gives me more control.
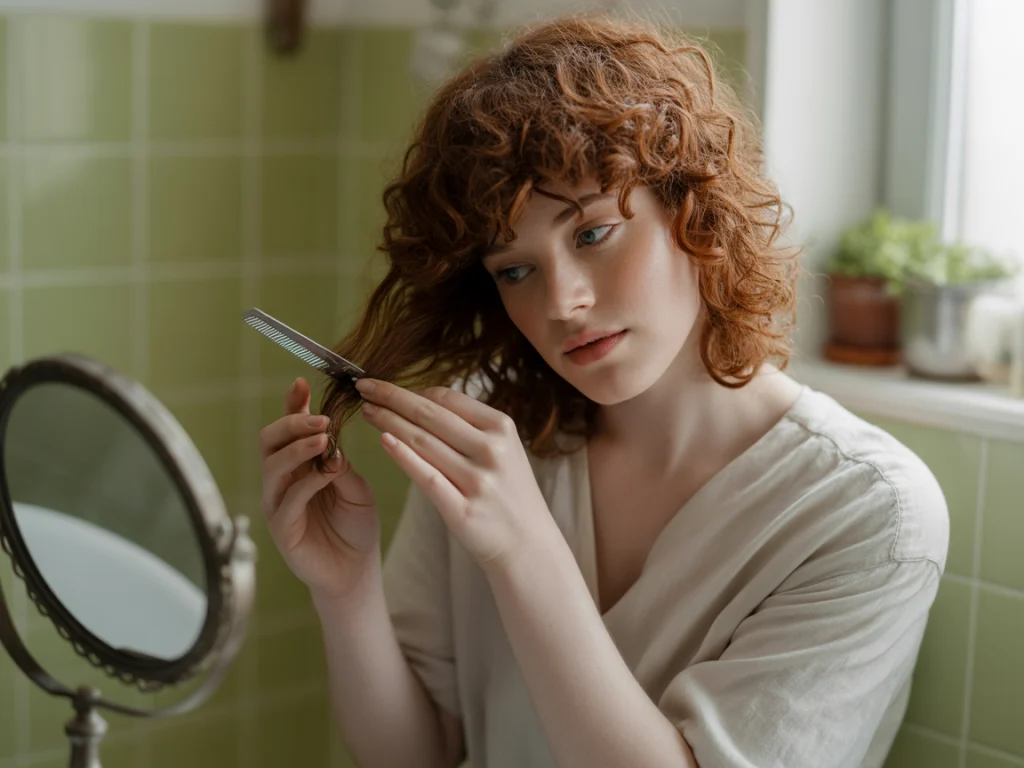
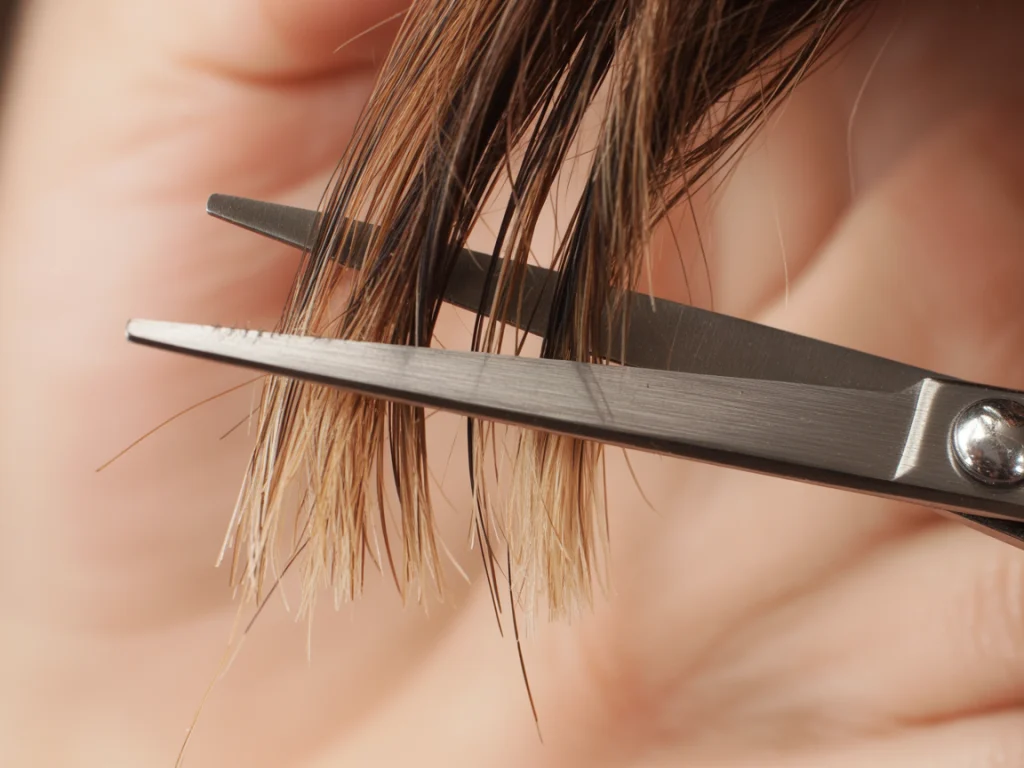
7. Trim Split Ends with the “Twist and Snip” Method
This is my go-to for in-between trims. Twist a part of your hair and cut off the frayed split ends that become visible. It takes little time, it’s calming and you can still keep your haircut intact.
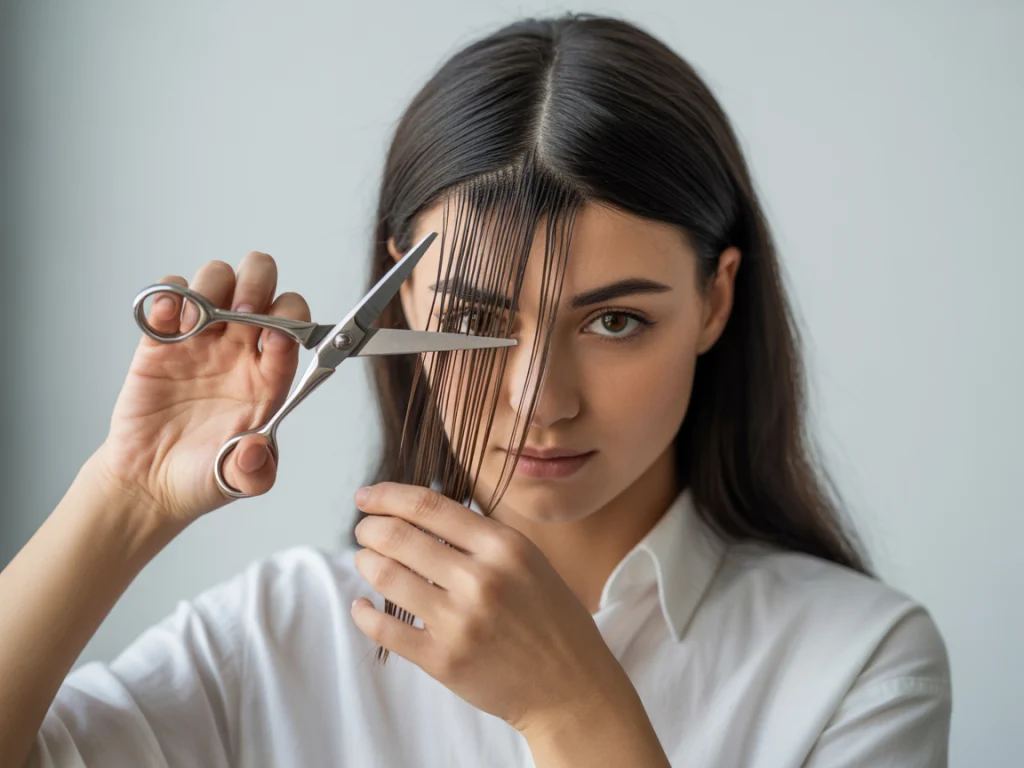
8. Bangs? Proceed with Caution
At times, trimming bangs at home leads to a wonderful hairstyle, while other times the result is strange. This happened to me at 1 AM when I was drinking wine in the dark. Always snip your bangs while they are dry and snip vertically for a soft effect. Start longer than you think—you can always go shorter.
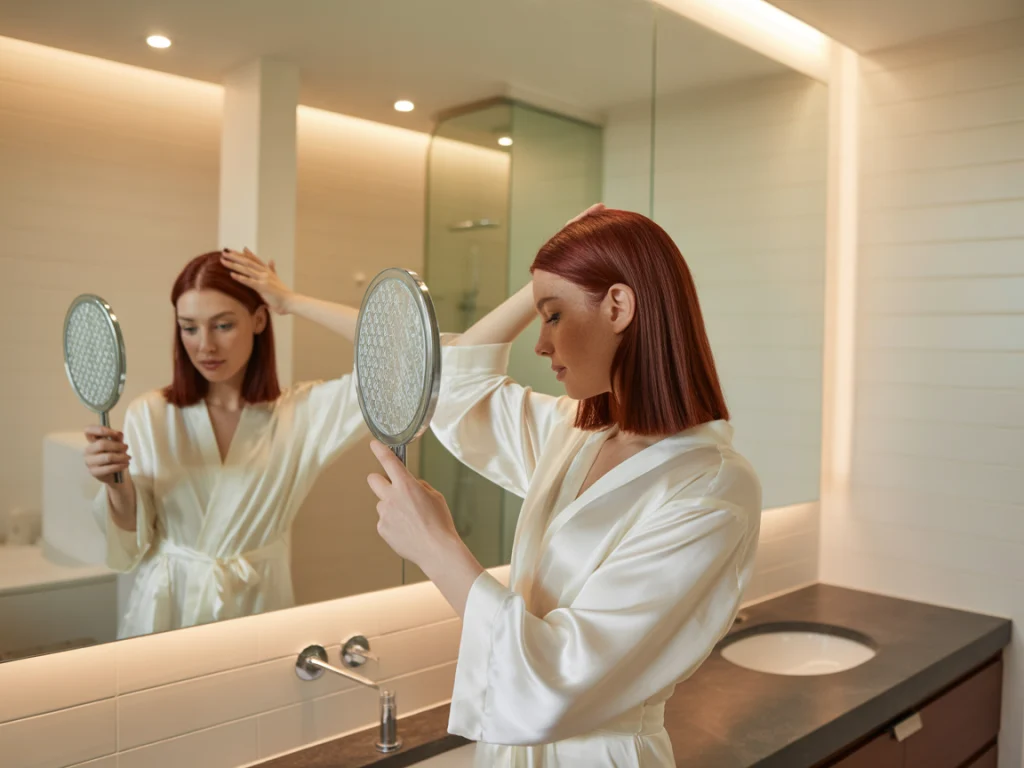
9. Use Two Mirrors for the Back
It is rare for someone without double joints to see the back of their own head. Hold the phone between your bathroom mirror and a handheld mirror for better alignment. Once in a while, I ask my partner to help out, as it makes time together more enjoyable (or helps us trust each other more!).
10. Blend and Check from All Angles
Once you’re done, don’t forget to blend. Pass your hand through your hair, move your head slightly and view it from different angles. Typically, I notice slight bumps that can be smoothed out by using my point-cutting tools. Finishing the cut makes it truly resemble a salon cut.

Professional Cut vs. DIY: What’s the Difference?
Thinking of skipping the salon entirely? Here’s how at-home haircuts compare to a professional visit:
| Aspect | Salon | DIY |
|---|---|---|
| Cost | $60–$150+ | Free (after buying tools) |
| Time | 1–2 hours including travel | 30–60 minutes |
| Precision | High — trained professionals | Varies — depends on practice |
| Convenience | Requires appointments | Anytime, anywhere |
In the end, These are some of the takeaways I gained from trimming my own hair.
Learning to cut my hair provided me with more knowledge than just how to do it. I learned how important it is to take it easy, rely on myself and accept mistakes. Some trims were flawless, others… not so much. But every cut made me better.
If you’re up for doing it, be careful, use proper tools and remember not to expect too much. You might just surprise yourself.
- Start small—don’t cut too much at once.
- Work with your natural hair texture, not against it.
- Always double-check the back and sides.
Have you ever tried cutting your own hair? Did it turn out how you expected? Share your story—I’d love to hear!