Why I Started Making My Own Face Masks
Do you sometimes stare at your bathroom mirror with an empty skincare tube and not sure what steps to take? I was sending that email a couple of years back on a weekend trip with my best friends. We had packed everything—except our favorite face masks.
Instead of panicking, we improvised. We used our leftover bananas, honey and oats to create a wonderful spa treatment. That’s how I started enjoying the process of making face masks by myself.
Who This Article Is For
If you’re someone who:
-
- Loves natural skincare and is tired of harsh chemicals
- Wants budget-friendly self-care without compromising on results
- Are into making your own beauty treatments that really brighten your skin
Then this post is for you.
The Benefits of DIY Face Masks
Before we dive into recipes, let’s talk benefits. Making your own face mask can be a real advantage, particularly when you want to avoid contact with certain ingredients or cut down on expenses.
| Benefit | Why It Matters |
|---|---|
| Gentler Ingredients | No preservatives or artificial fragrances |
| Customizable | Tailor to your exact skin needs each time |
| Affordable | Most ingredients are already in your kitchen |
It’s also quite soothing to put together the ingredients in your kitchen.
My Favorite DIY Ingredients
On my shelf, I now keep a collection of my main ingredients for skincare. These basics can cover almost every skin need:
On a white kitchen counter, you can find a flat lay of ingredients for natural skincare such as oats, honey, yogurt, clay, turmeric, avocado and cucumber, lit softly.
- Honey – antibacterial and soothing
- Yogurt – gentle exfoliant and hydrator
- Clay – draws out oil and impurities
- Oats – calms irritation and adds softness
- Aloe Vera – reduces redness and cools
Now we’re going to discuss the best aspects—my favorite 11 face mask recipes.
11 Homemade Face Masks That Work
1. Hydrating Honey & Yogurt Mask
This mask really restored my skin after a week of dry winter air. I added 1 teaspoon of yogurt and 1 teaspoon of honey to plain yogurt, applied it to skin and left it on for 15 minutes. The result? Smooth, plump skin that felt nourished from within.
2. Oatmeal & Banana Calming Mask
I use this one after harsh exfoliation. Half a banana, 1 tablespoon of oats and just a bit of water all mashed together is my mix. It always calms my skin and leaves it looking healthier when my skin feels irritated or red.
3. Clay & Apple Cider Vinegar Detox Mask
Perfect for those breakouts that sneak up on you. Mix some bentonite clay with ACV and leave it on for about 5–7 minutes. It tightens pores and zaps oil fast.
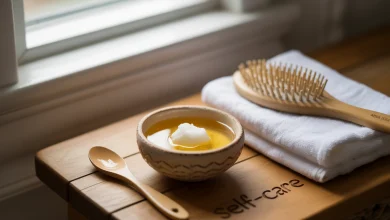
4. Avocado & Honey Glow Mask
I turn to this whenever my skin looks or feels tired. I roughly mash a quarter of an avocado with a teaspoon of honey and apply the mix. It’s rich, creamy, and smells surprisingly relaxing.
5. Aloe Vera & Turmeric Brightening Mask
A friend I met in yoga classes introduced me to this. Combine 1 teaspoon of aloe vera gel, some turmeric and 1 teaspoon of yogurt. Having calming and glow-enhancing effects makes it great for your skin.
6. Coffee & Cocoa Wake-Up Mask
This one’s my favorite for lazy Sunday mornings. Put together equal weight coffee grounds and cocoa powder with some milk. It smells like a mocha latte and helps your skin feel tighter naturally.
7. Green Tea & Rice Flour Balancing Mask
It’s the one I use on days when my skin can’t seem to make up its mind between being oily and dry. I make some green tea, mix it with rice flour into a paste and apply it to the face for ten minutes. The antioxidants do wonders.
8. Cucumber & Yogurt Cooling Mask
My face turned red and unwittingly exposed to too much sun after visiting the beach. I mixed two cucumber slices with yogurt, put it in the fridge and used the blend when cooled. It was like a spa retreat at home.
9. Egg White & Lemon Tightening Mask
I apply this before shooting an event or taking pictures. I whisked together an egg white and a few drops of lemon juice. You’ll see tighter skin right away—except if your skin is delicate, in which case, skip it.
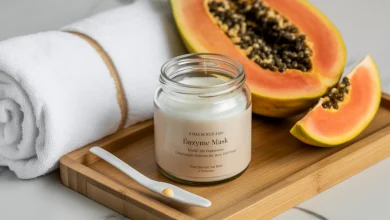
10. Papaya & Honey Exfoliating Mask
Papaya is packed with enzymes that gently exfoliate. I mix some mashed papaya and honey and apply it to my skin once per week when it seems dull.
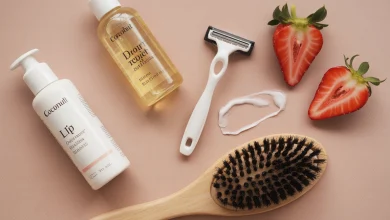
11. Strawberry & Cream Softening Mask
This is just fun to make and wear. I mash a ripe strawberry together with a little cream. It makes my skin feel and smell great, as if I just splashed out on some expensive salon treats.

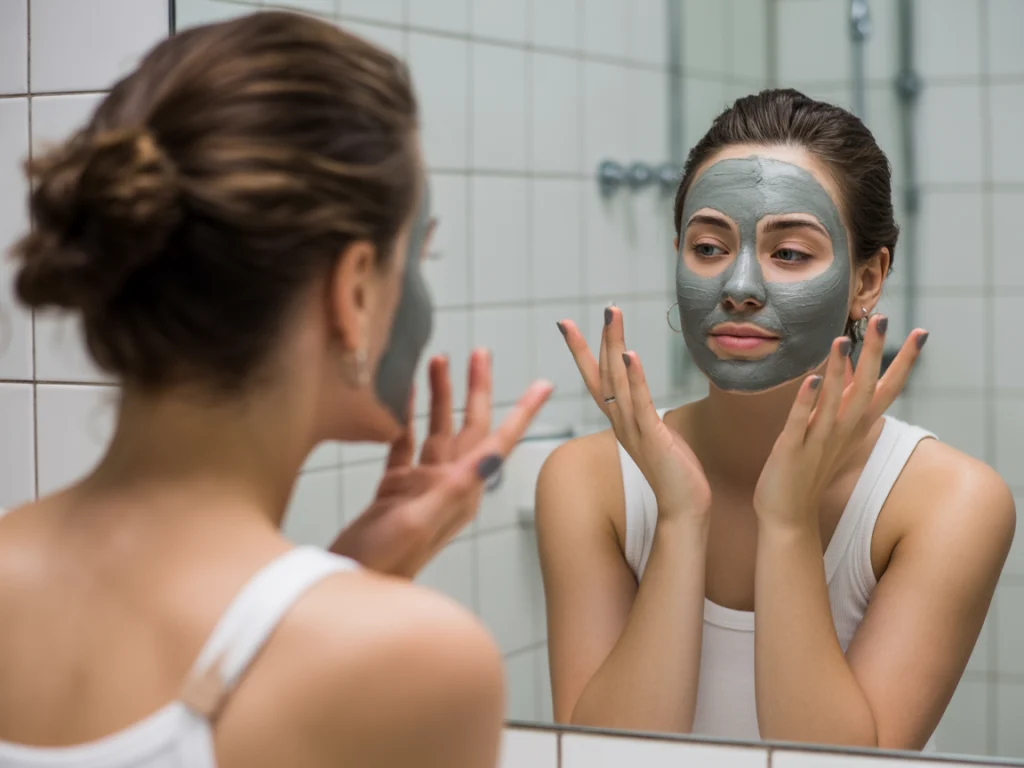
How to Apply and Store DIY Masks
Always start with clean skin. I spread the mask with a silicone brush and keep it away from the eyes. Put any unused fruit salad in a sealed glass jar in the refrigerator for only up to 48 hours.
Common Mistakes I Learned the Hard Way
After my own trial-and-error experiences, I have some advice for you before you use too many ingredients.
-
- Always do a patch test—especially with lemon or turmeric.
- You shouldn’t need to wear a mask for much longer than 15 minutes.
- Never keep a mix the whole night and then reuse it the next day.
My Quick Picks by Skin Concern
If you find yourself unsure of what to do, I’ve prepared this cheat sheet:
| Skin Concern | Best Mask |
|---|---|
| Dryness | Honey & Yogurt |
| Redness | Cucumber & Yogurt |
| Oily Skin | Clay & ACV |
| Dullness | Papaya & Honey |
| Sensitivity | Oatmeal & Banana |
Final Thoughts
These masks aren’t just skincare—they’re self-care. I have learned more useful knowledge about my skin from these recipes than I have from anything I use.
You can make them cheaply, they’re natural and it’s enjoyable to put them together yourself. Making your own mask is an experience that anyone who likes chemistry will really enjoy.
My Takeaways
- Trust simple ingredients
- Patch test before applying
- Make it a weekly ritual
- Keep your mixes fresh
- Tailor masks to how your skin feels that day
What About You?
Haven’t you given making your own face mask at home a go? Which one sounds like your favorite?
Feel free to leave your favorite recipes in the comment section below.