In all honesty, drawing your eyebrows can be the hardest thing about getting ready. I still remember the first time I tried it. I looked at myself in the mirror, ready to do my best and my eyebrows came out both dark and blocky—not like the real me. Finding a real routine took me a lot of effort and time over the years.
In this article, I describe my 12-step approach for making eyebrows that appear neat and natural. It’s simple enough for a newbie but has enough tips for anyone looking to make their eyebrows better. These suggestions come from things I’ve tried myself and seen work such as a messed-up spa treatment and a strange brow-shaping idea I got from TikTok.
Whether you are a beginner or have a few brow problems, you’ll find this guide helpful. I will share what I wish I could tell myself year ago.
Tools and Products You’ll Need
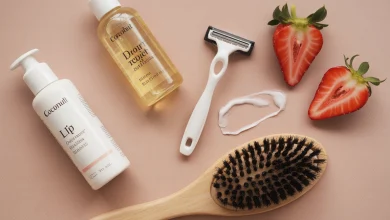
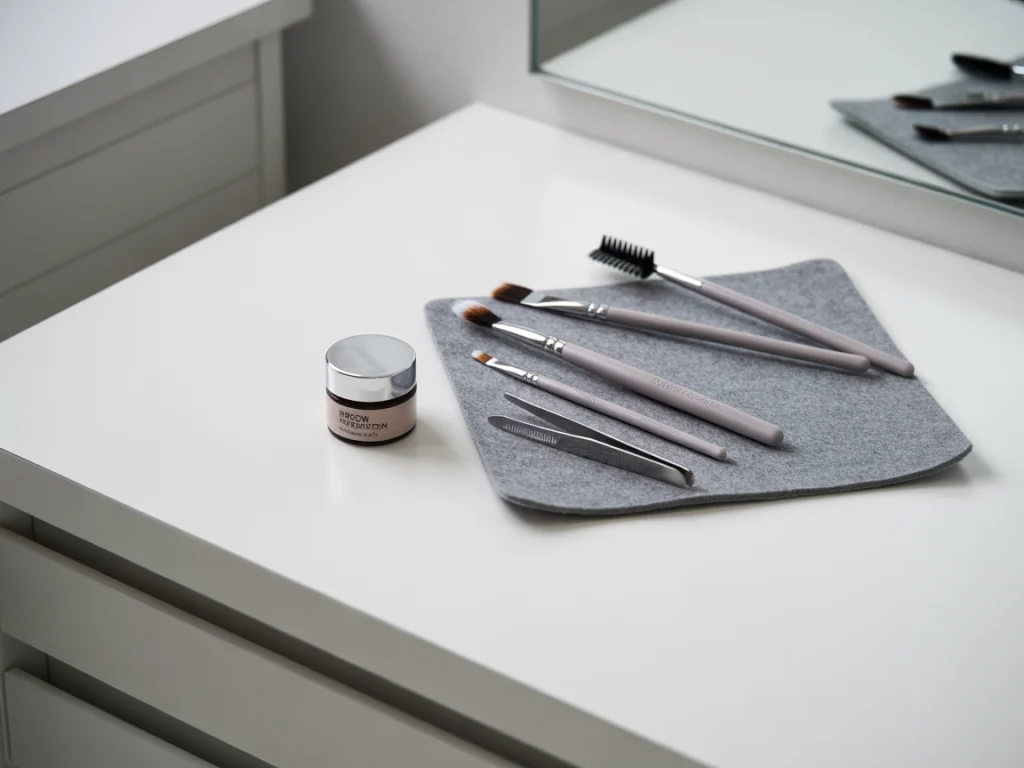
Before learning the technique, I should share the basic tools I carry with me all the time:
- Eyebrow pencil or pomade (matched to your hair color)
- Spoolie brush
- Angled brow brush
- Brow gel (clear or tinted)
- Flat concealer brush
- Lightweight concealer or highlighter
These are staples in my kit. If you have suitable tools, work is easier and you get more accurate results.
12 Steps to Draw Perfect Eyebrows
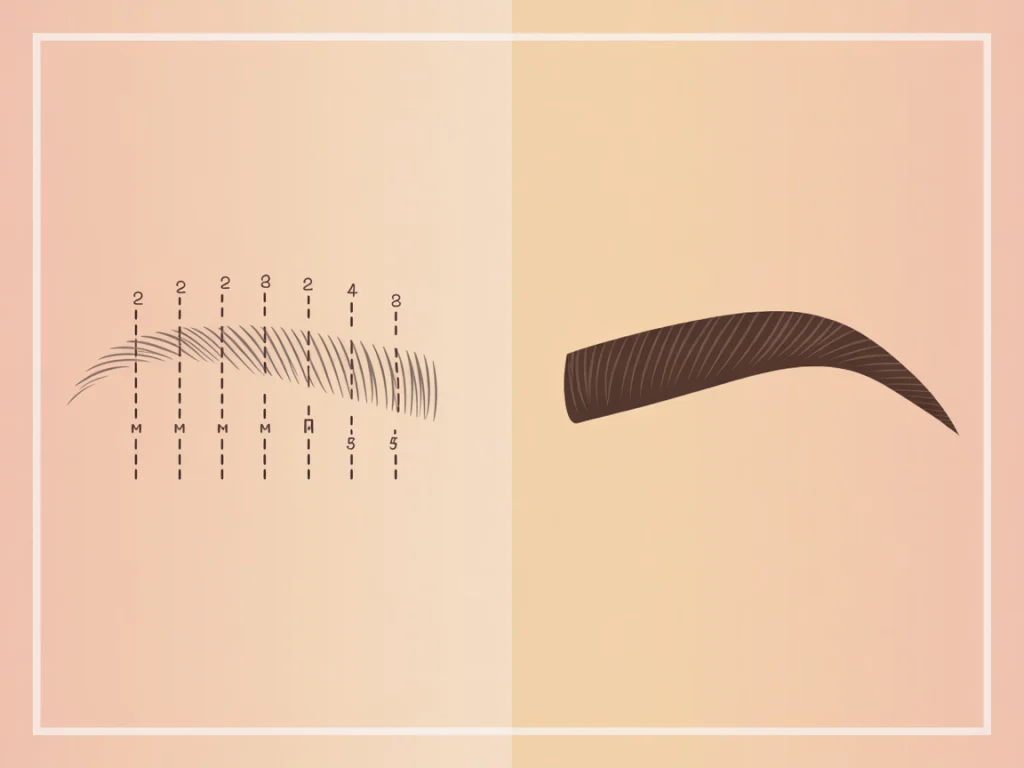
1. Identify Your Natural Shape
With the help of your brow pencil, decide how far your eyebrows should move outward from your eyes, curve and grow back again. It helps outline what your perfect body should look like. It wasn’t until a skilled friend pointed out that incorrect aligning can mess up the whole look of your face!
2. Choose the Right Shade
The best option is for your brow product to be close to your natural hair color or 1 shade lighter, to create a subtler look. I used to make my brows look very strong, until a spa professional warned me it was unnatural. Lesson learned.
3. Brush Brows Into Place
Connect your spoolie and stroke the hairs upwards, then outward. This brings attention to natural differences and helps make spreading the product simpler. Think of it as “prepping the canvas.”
4. Outline the Bottom Edge
Carefully sweep light lines along the lowest part of your brow. This means the design is defined from the start, but not severely so.
5. Define the Top Border Lightly
Begin the top edge by following just past the middle of the inner corner to the peak of the arch. Don’t make the front of your brow too sharp to get that gradient effect.
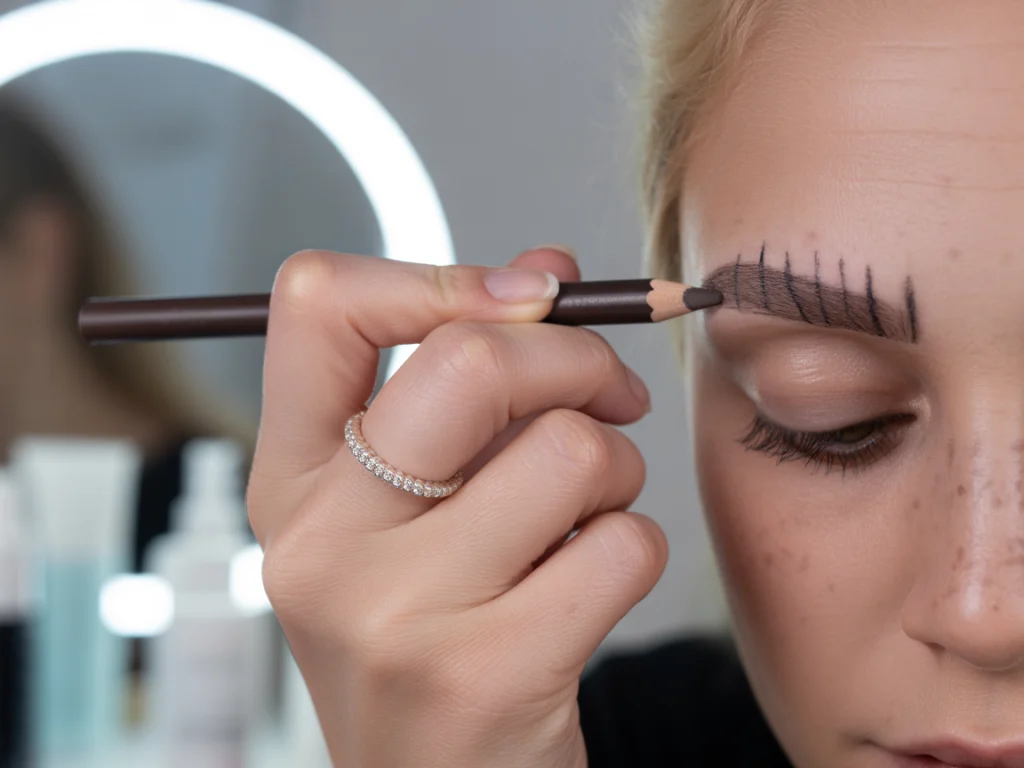
6. Fill in With Hair-Like Strokes
For me, the best part is replicating real brow hairs using these short cuts. Someone shared on TikTok that this trick is often called the “feathering method”—and it’s a great tip. It made my brows look fuller without being fake.
7. Focus on Sparse Areas
Instead of filling every detail, look at places where there is nothing and leave them empty. This way, your brows look naturally full. That’s when I learned it, after I filled mine too full and saw they looked like someone had inked on them when in sunlight.
8. Define the Arch
Add a bit of extra pressure or product over the arch to give a soft eye lift. It lifts the area around your eyes, so you don’t need to use intense makeup there.
9. Extend the Tail
If you want, use your slanted brush to add length to the back tail, but don’t put in too much. A long tail can drag the eyes down visually. Keep it elegant and balanced.
10. Blend With Spoolie
Always blend after filling. Combing your eyebrows will smooth out the lines and make the product spread throughout. It’s like a magic eraser for harshness.
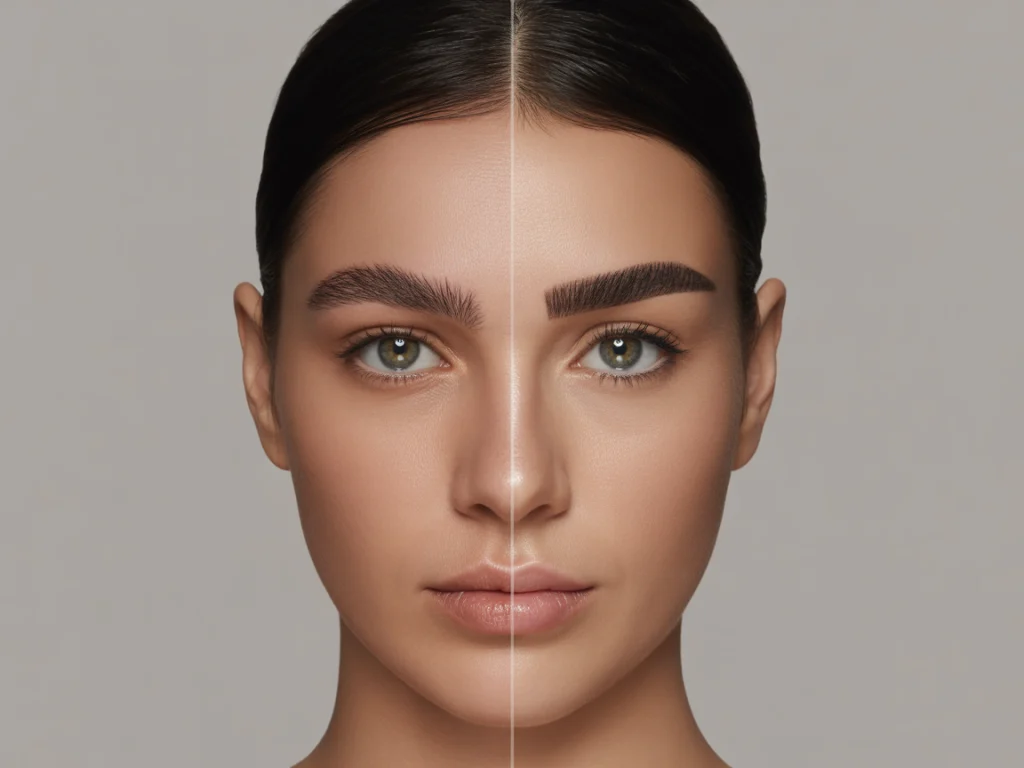
11. Set With Brow Gel
Brow gel locks everything in place and adds texture. When I want volume, clear gel is the one, but a tinted one may help too. When it’s humid, this is the step that helps me keep my brows under control.
Look how much the model’s brows change with and without gel, both with and without soft glam makeup in the shot.
12. Clean Edges With Concealer
Use a brush with little concealer to give your arch a neater shape. You might not notice it much, but it gives that subtle lift to your eyebrows.
Common Mistakes to Avoid
Having made a lot of mistakes over time (mostly by overplucking), here are the things I try not to do:
- Overdrawing both top and bottom edges
- Using too much pressure or a dark pencil
- Skipping the blending step
- Forgetting to brush and set brows
- Extending the tail too far
Fixing them really helped, making my brows appear much better in pictures.
Eyebrow Shapes by Face Type
Not sure which face shape is yours? Here’s a quick reference:
| Face Shape | Ideal Brow Shape | Why It Works |
|---|---|---|
| Round | High, sharp arch | Adds structure and elongates face |
| Square | Soft arch | Softens strong jawline |
| Heart | Rounded brow | Balances a wider forehead |
| Oval | Natural arch | Maintains face symmetry |
| Long | Flat shape with slight tail | Shortens facial length visually |
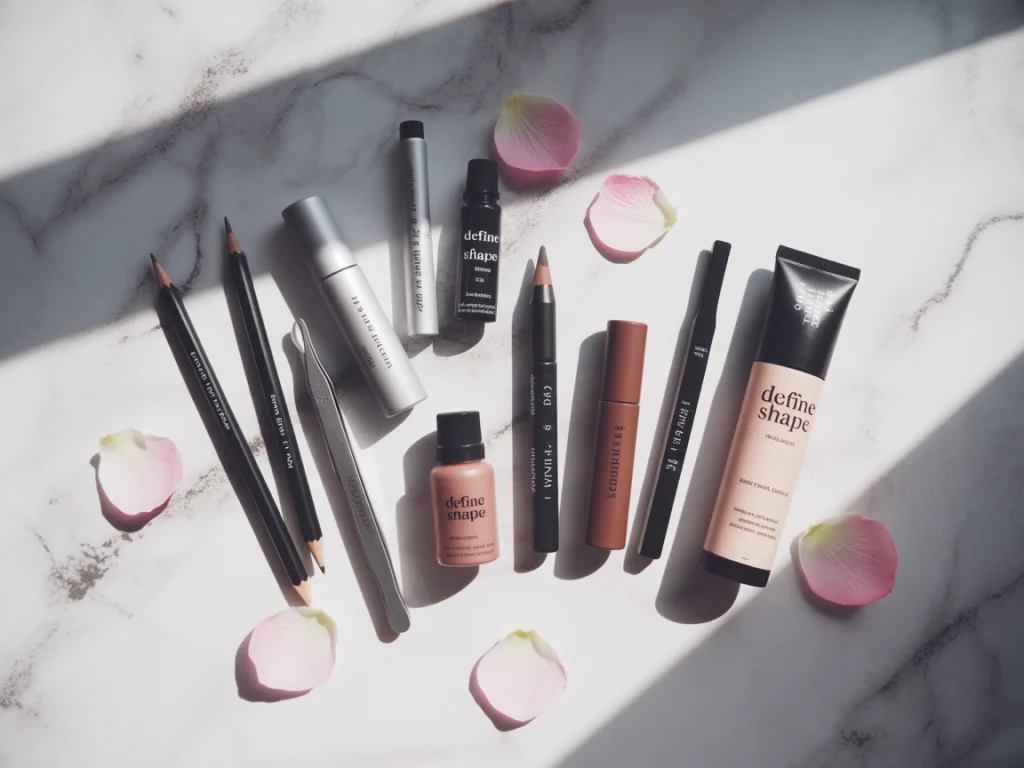
My Must-Have Brow Products
This is what I always carry in my kit for solid results:
- Pencil: Anastasia Beverly Hills Brow Wiz
- Gel: Benefit 24-HR Brow Setter
- Brush: Morphe M158 Angled Brush
- Concealer: NARS Radiant Creamy Concealer
Final Thoughts
Drawing my eyebrows used to scare me, but just like anything else, I’ve gotten used to it and really enjoy doing it now. If you take things step by step, it doesn’t seem difficult after a while and can also be relaxing.
Here’s what I’ve learned:
- Putting less pressure with less product usually leads to a higher quality result.
- Mapping and blending make a world of difference.
- Your brows don’t have to be twins—just sisters.
- The right tools are half the battle.
- Practice truly does make perfect.
What’s your biggest struggle with drawing eyebrows? Have you found a trick that works for you?
Post your best brow tips in the comments—I’d be happy to learn them!