Have you ever stared at your reflection and thought, “Why do my brows never look quite right?” I’ve been there more times than I’d like to admit. Back in college, I over-plucked them before a beach trip and ended up hiding behind sunglasses for days. But through trial, error, and a lot of learning, I finally figured out how to do eyebrows — in a way that feels easy, natural, and me.
In this post, I’ll share seven beginner-friendly methods that helped me create balanced, face-framing brows — without booking a salon appointment. Whether you’re brand new to brow grooming or want a better routine, this guide is for you.
Who is this for? Women who want natural-looking, clean brows without the stress — especially if you’ve ever struggled with sparse spots, uneven arches, or just don’t know where to start.
Understanding Your Brows
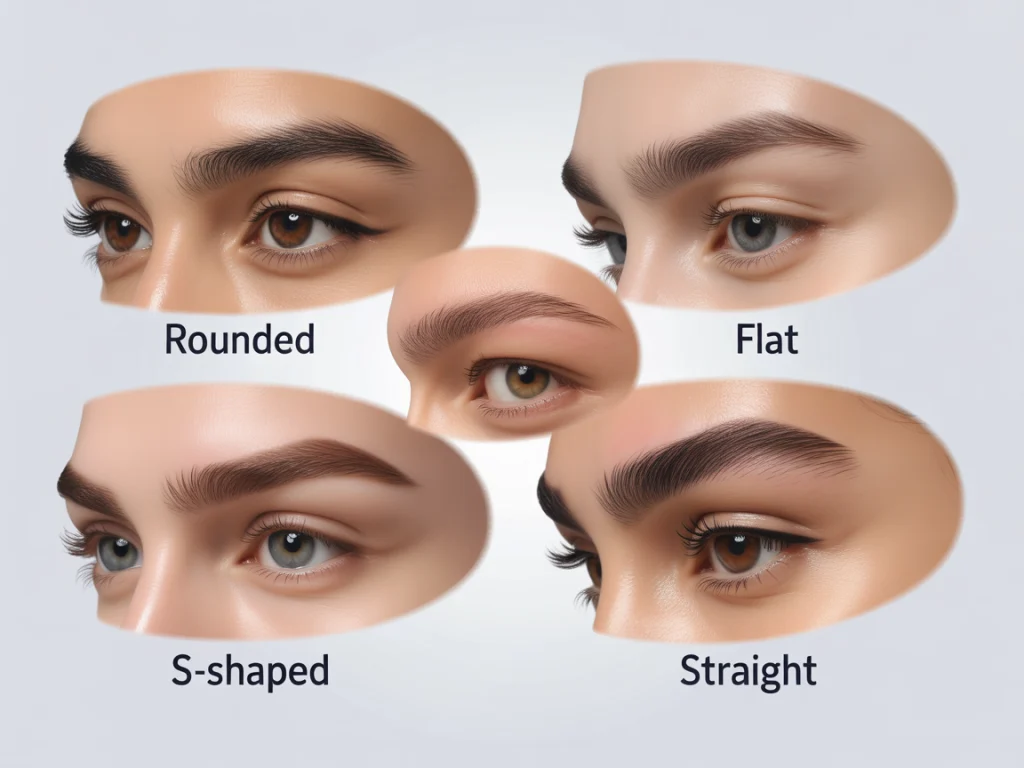
Before jumping into tweezers and gels, take a moment to understand your natural brow shape. No two brows are the same — not even on your own face. Your goal isn’t to make them identical twins; it’s to make them flattering sisters.
The shape of your brows should complement your face structure and personal style. Some women love a bold, arched look; others prefer a soft, straight brow. The beauty of doing your own brows is that you get to choose what makes you feel beautiful.
7 Easy Ways to Master How to Do Eyebrows at Home
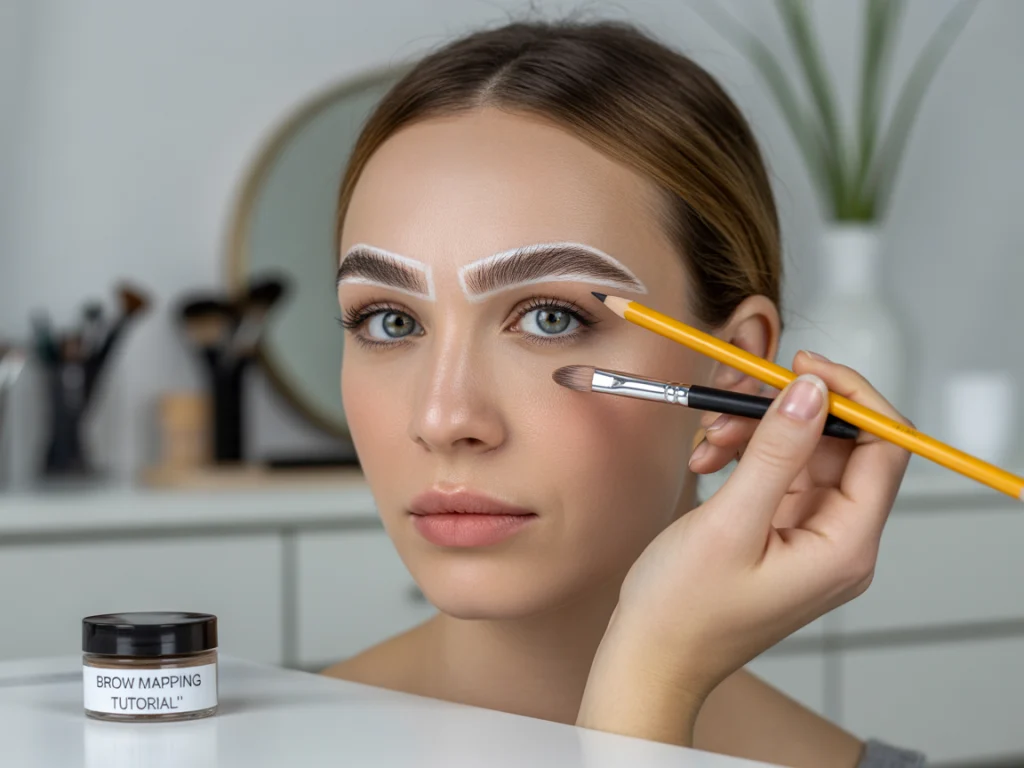
1. Start With Mapping Your Brows
The first game-changing tip I learned was brow mapping. Use a makeup brush or pencil to find three key points: where your brow should begin, where it should arch, and where it should end. This little trick ensures your brows frame your face naturally and evenly.
I remember the first time I tried this method — it was during a girls’ night in. My best friend showed me how she uses her eyeliner pencil to map her brows. The difference it made was incredible. My brows looked cleaner and finally made sense on my face.
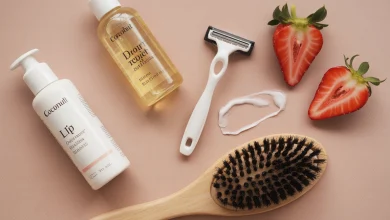
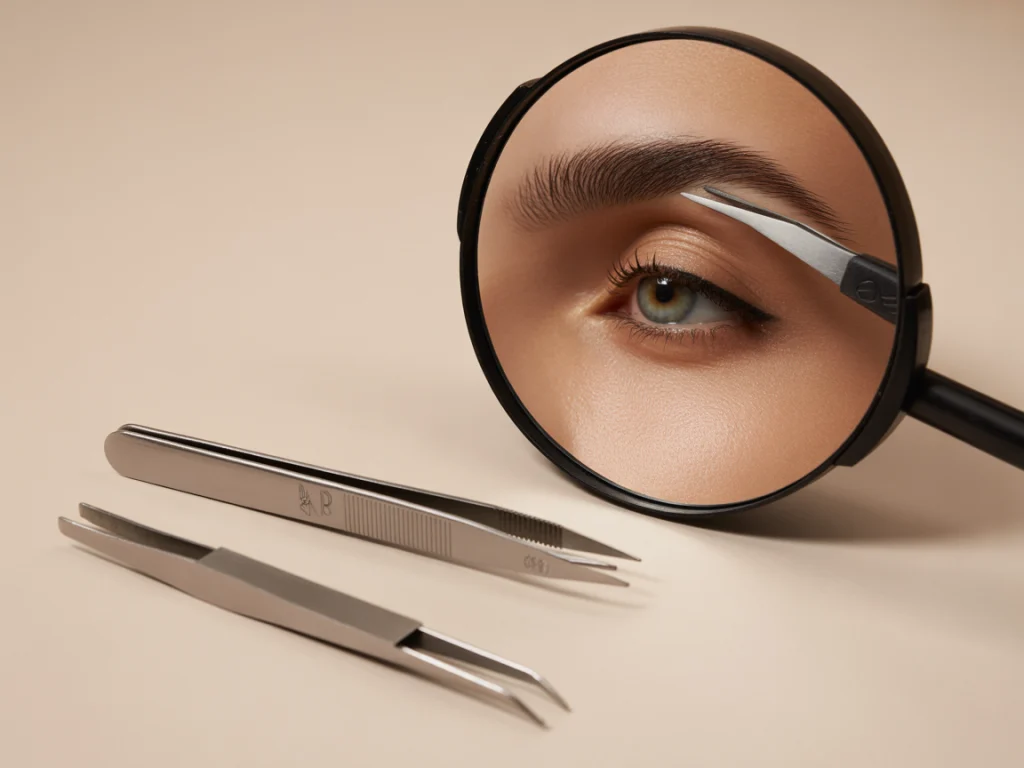
2. Tidy Up with Tweezers — But Don’t Overpluck
Let me say it loud for the people in the back: overplucking is real and painful. I once got carried away the night before a spa weekend and ended up filling in half my brow for weeks. Now I only tweeze stray hairs underneath the brow and between the eyes — never above the brow line.
Always tweeze in natural light and work slowly. Less is truly more when it comes to shaping your brows.
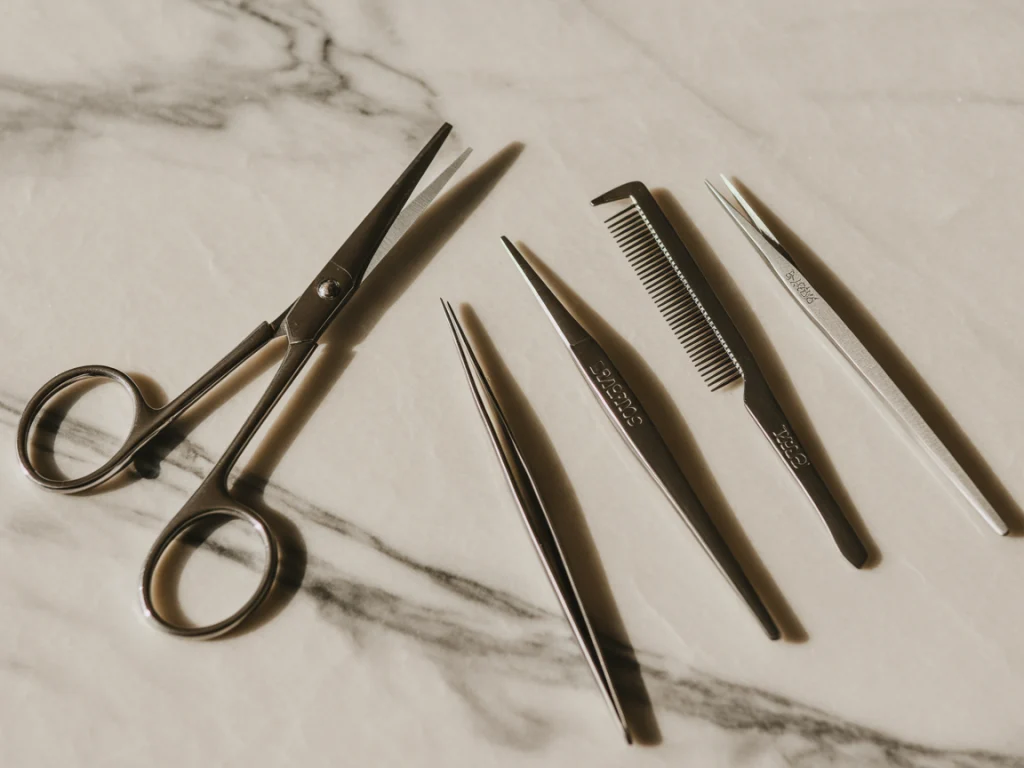
3. Trim with Precision
If you have full brows like I used to (pre-2008 overplucking phase), trimming can make a world of difference. Brush your brow hairs upward with a spoolie and carefully trim any long hairs that go beyond your natural shape. Use small scissors made specifically for brows.
This technique helps your brows look tidy without losing fullness — and it only takes a minute.
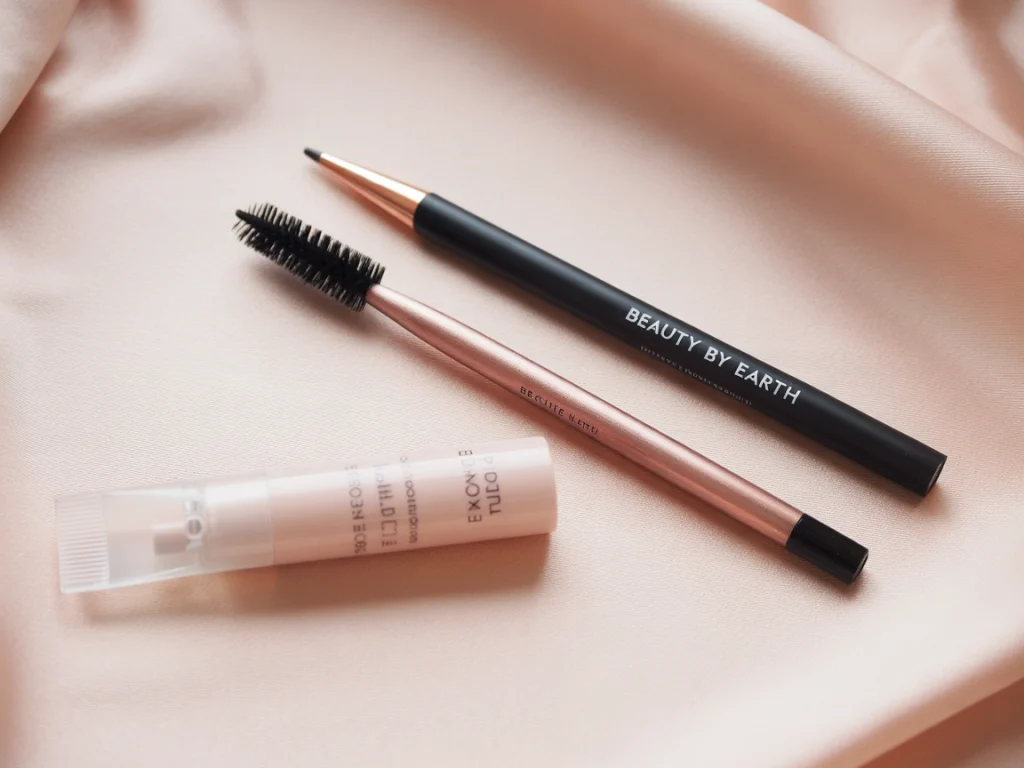
4. Fill Them In — Naturally
This step is where the magic happens. I used to fill in my brows with a heavy black pencil (rookie mistake). Now I use a taupe or ash brown pencil with a fine tip. The secret? Light, feathery strokes that mimic hair.
After filling, I brush through with a spoolie to soften the look. You don’t want sharp lines — just a fuller, more even brow that still looks like your own.
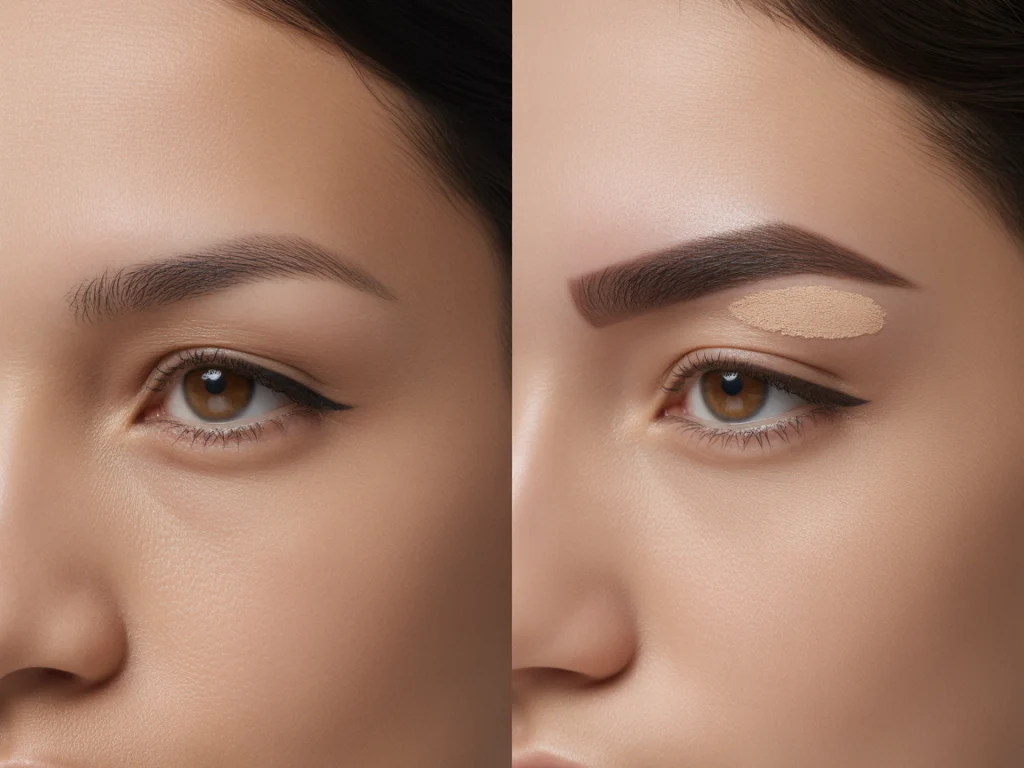
5. Use Concealer for Crisp Edges
Want that lifted, clean brow look? Concealer is your best friend. After filling in my brows, I apply a bit of concealer underneath the arch using a flat brush. It’s like a mini brow lift without the Botox.
This trick also hides any redness or mistakes and gives you that “freshly done” appearance, even if your last salon visit was months ago.
6. Try Brow Gel or Soap Brows for Hold
If you love the look of fluffy, laminated brows, this tip is for you. I first discovered soap brows during a trip to L.A. — everyone had these lifted, effortless brows. I tried it that night using glycerin soap and a damp spoolie, and I’ve never looked back.
Alternatively, a strong-hold clear gel works great if you’re on the go. Either way, it locks in shape and adds definition without extra product.
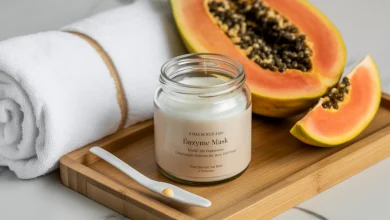
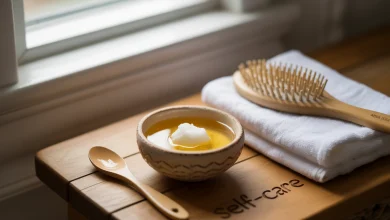
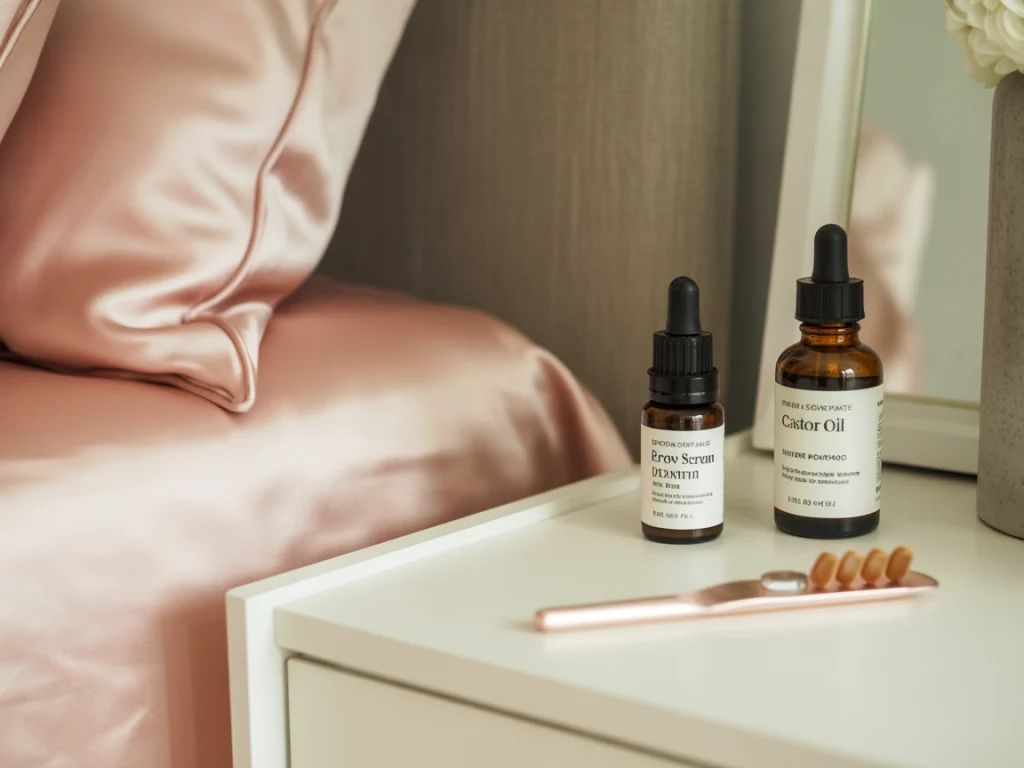
7. Keep Them Healthy with Proper Care
Brow care is often overlooked, but it makes all the difference. I apply castor oil or a brow serum a few nights a week. Over time, I’ve noticed my brows look thicker and don’t shed as much.
This little routine has become part of my wind-down ritual, and it feels like self-care — just for my brows.
Top Tools I Recommend for Perfect Brows
Over the years, I’ve tested dozens of brow tools. These are my go-to favorites that I recommend to friends all the time.
| Tool | Purpose | My Favorite Brand |
|---|---|---|
| Tweezers | Plucking stray hairs | Tweezerman |
| Spoolie Brush | Blending and grooming | Morphe |
| Brow Pencil | Filling in sparse areas | NYX Micro Brow |
| Clear Brow Gel | Holding shape all day | Benefit 24-HR |
| Angled Brush | Applying pomade/concealer | e.l.f. Cosmetics |
Make sure to clean your tools regularly and store them in a dry, hygienic place. It’s a small habit that keeps your skin and brows healthy.
Final Thoughts: What I’ve Learned from My Brow Journey
- Perfect symmetry isn’t the goal — balance is.
- Less tweezing leads to more natural beauty.
- Soft strokes and blending always look better than harsh lines.
- Don’t skip aftercare — healthy brows grow stronger.
- Trust the process, even if you mess up once or twice.
Doing your own brows is empowering. It’s one of those little things that makes a big difference in how you feel day-to-day. Once you get the hang of it, you’ll never want to hand over control again.
What’s your favorite tip for shaping or filling in your brows? Let me know in the comments — I’d love to hear what works for you!