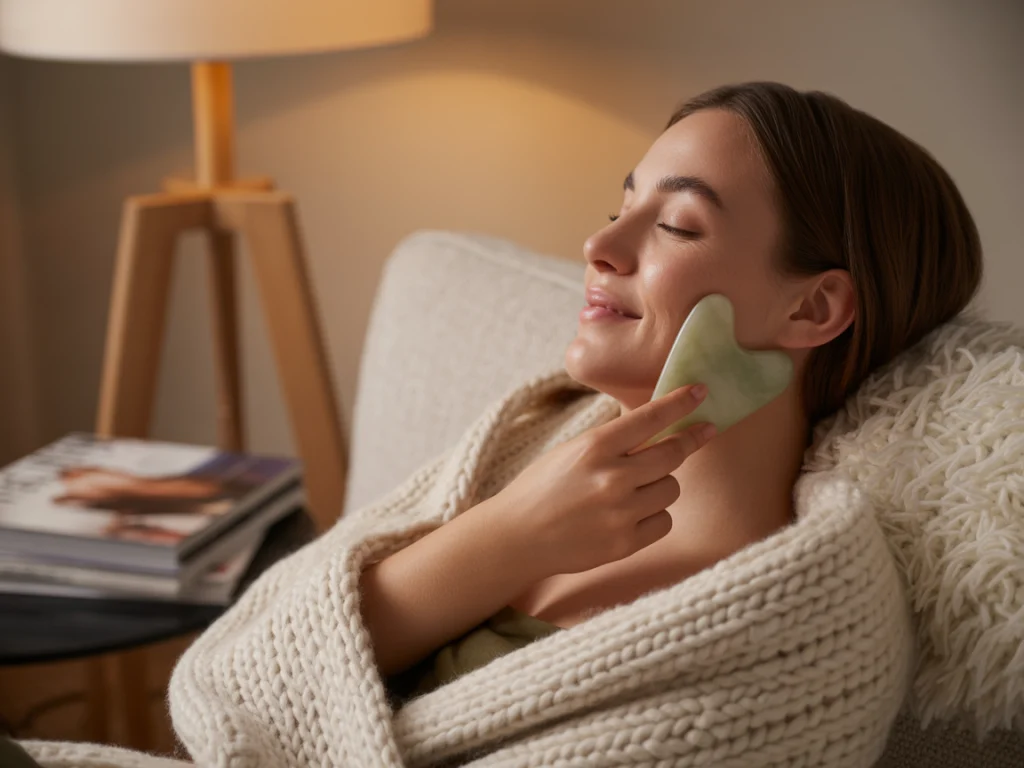
I learned about gua sha while having a spa day with my girl friends. She told me she believes this product makes her skin ascend and sparkle. Even though I was interested, I didn’t think it would be enough to matter. Still, I gave it a try. It was a few weeks in and I was shocked at how different my jaw and under eyes had gotten.
This article will explain what I’ve found works best with gua sha, what things to avoid and how to get the most out of this ancient beauty ritual.
Who Should Read This Article
- You’re new to facial tools and want expert guidance.
- You’re dealing with puffiness, dullness, or facial tension.
- You’d like to use natural skincare methods that help you relax and get results.
Sound like you? Then keep reading — this one’s for you.
What Is Gua Sha and Why It Works
Gua sha is a method used in Chinese medicine to lift the skin with a tool to help the blood flow and relieve tension. As part of modern skin care, facial massage now helps drain the lymphatic system, reduce swelling and shape our facial features gently.
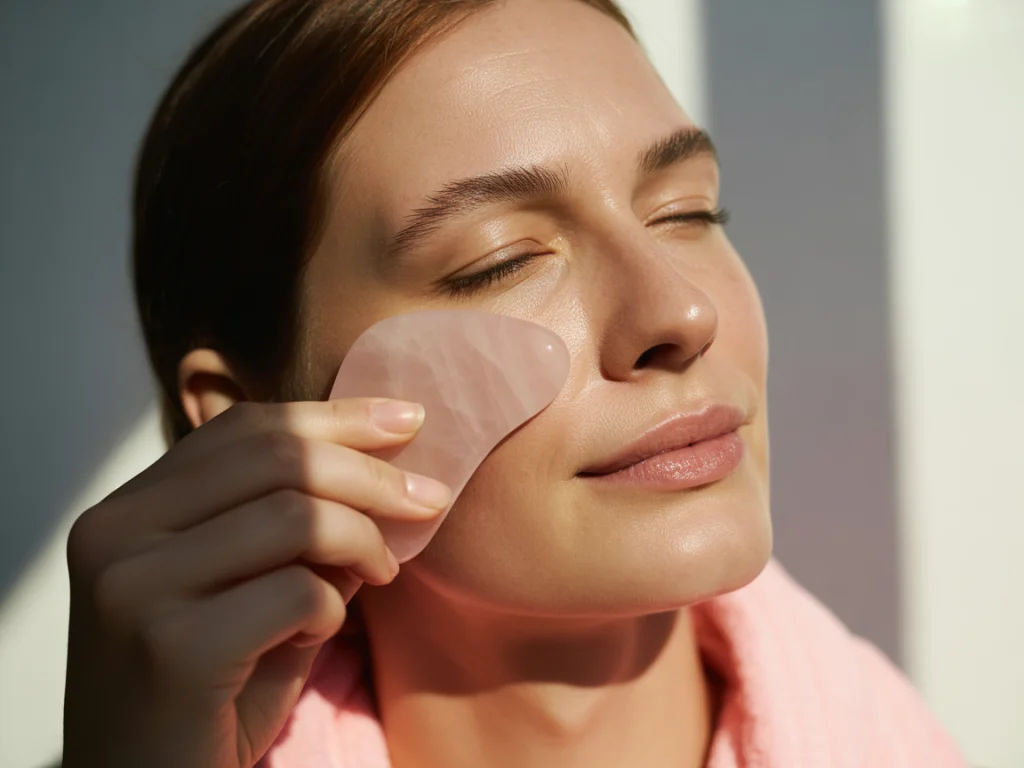
Bits and pieces used in gua sha usually come from stone such as jade and rose quartz. To me, rose quartz is the best — it’s refreshing, peaceful and looks lovely on my dressing table.
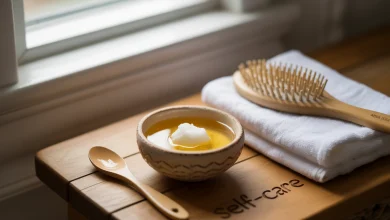
What You’ll Need Before You Start
Before you begin, gather a few essentials. You’ll see a real difference when you use the right products.
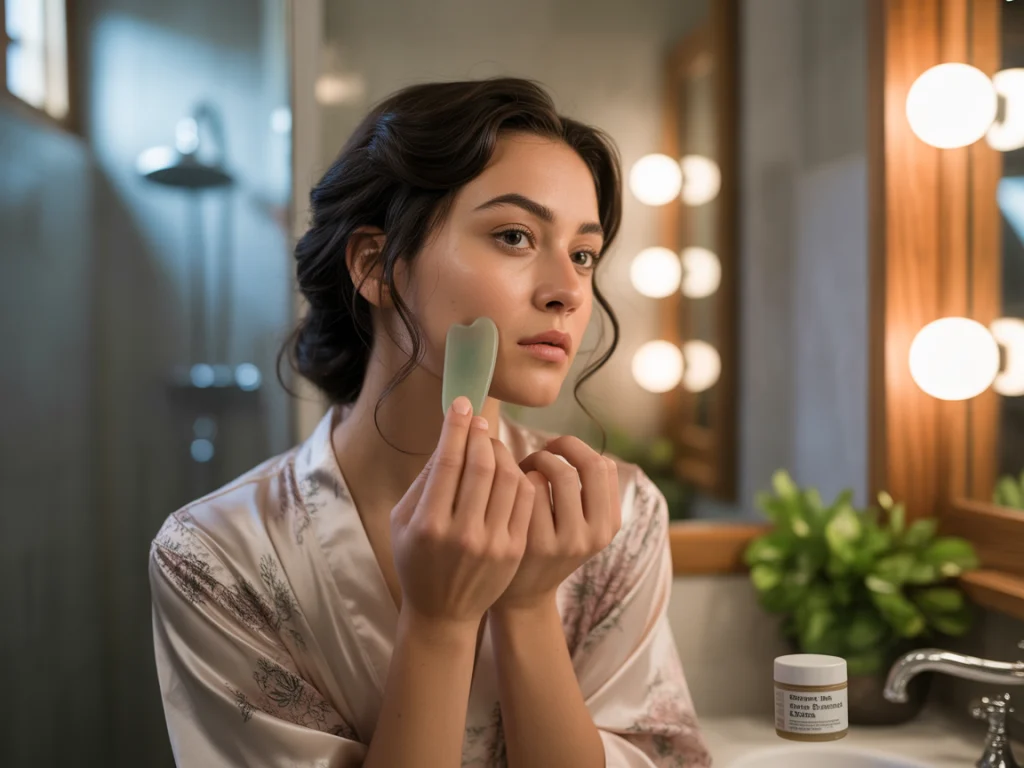
- Make sure the edges are flawless and that you pick items made from jade or rose quartz.
- This step is important for gliding and you don’t want to skip it or you’ll pull your skin.
- You should always clean your face before doing anything else to prevent trapping dirt.
| Item | Why You Need It |
|---|---|
| Gua Sha Tool | |
| Facial Oil or Serum | |
| Clean Skin |
There are 8 useful tips for making the most of a Gua Sha.
1. Sculpting the Jawline
I start every session with the jawline. Put the straight edge at the point below your chin and gently move it down so it touches your earlobe along the jaw. I started to see minor sculpting after only seven days of persistence. It’s now my go-to before photos or date night.
2. De-Puffing the Under-Eye Area
This is where I saw the quickest results. Use the curved part of your brush and move from the inner part of your lower eyelid toward the temple. For me, keeping the tool in the refrigerator is best — it feels wonderful on my skin when I first wake up.
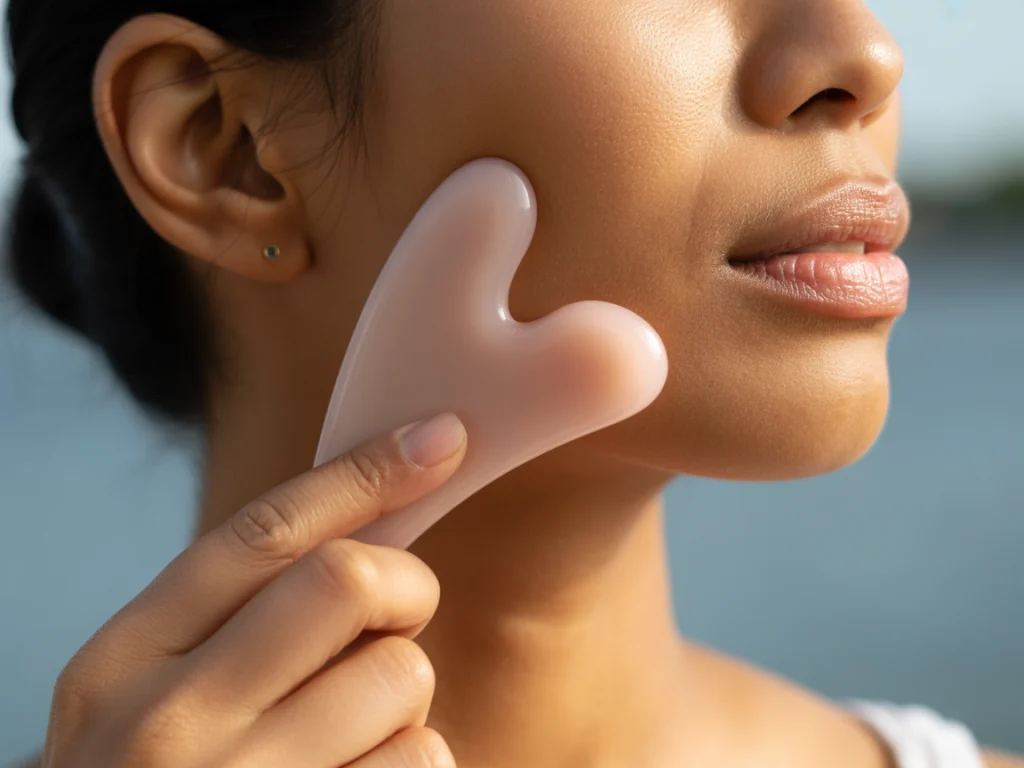
3. Lifting the Cheekbones
Take your paintbrush and drag from the corner of your nose to the highest point on your ear. My friend explained this move to me after our spa appointment in Sedona — now, it’s my favorite treatment. It makes my cheeks and face look lifted in a way that even the best makeup can’t reach.
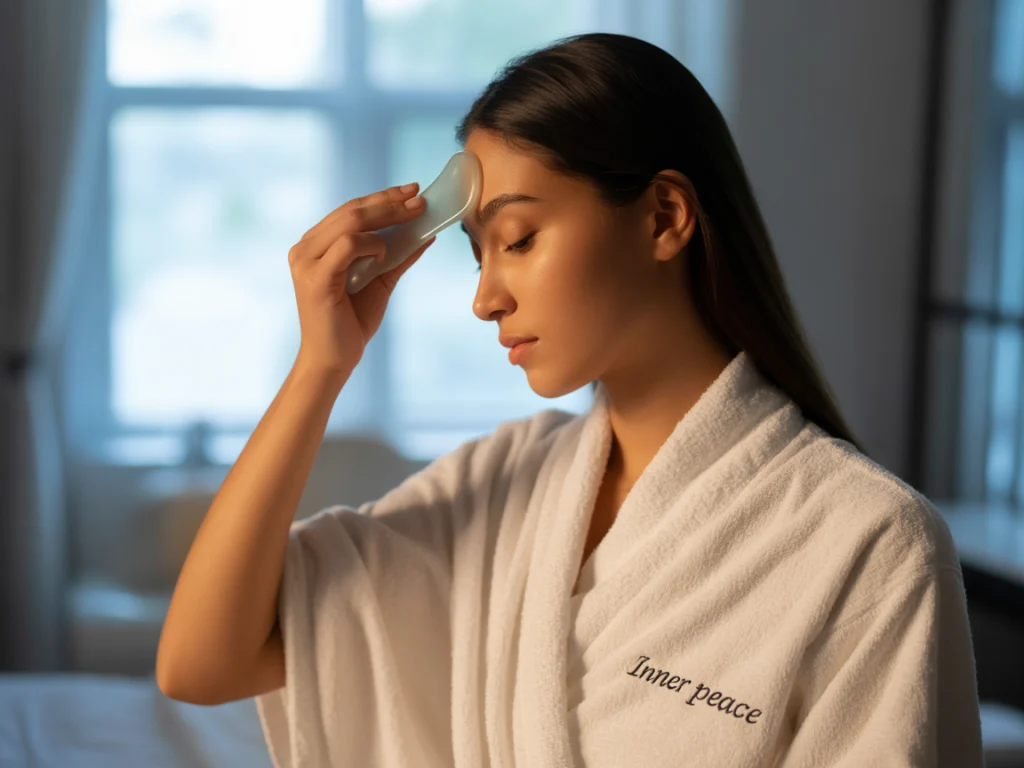
4. Releasing Forehead Tension
With the flat end of the tool, work in the middle of your forehead and move out toward your temples. This is a lifesaver on stressful days. I find myself doing it any time I watch Netflix and it helps me feel much better.
5. Reducing Neck Puffiness
Don’t skip the neck! Bring the tool just under your jaw, then move it down toward your collarbone as you use it. This encourages lymphatic drainage and feels incredibly relaxing. A lot of tension used to build up for me here, but now it’s different thanks to this step.
6. Defining the Brow Area
Use the little notch at the end of the tool to carefully lift across your brow bone. It wakes up my eyes immediately — which is great for when I opt out of makeup before my morning virtual talks. It makes a noticeable difference with minimal effort.
7. Boosting Circulation with Quick Sweeps
You can quickly add shape to your face by brushing your cheeks and forehead upwards if you’re rushing. I use it both before going out for any event and after a hard day to give my skin a boost. You’ll sense the blood move and notice your skin becoming glowing right away.
8. Ending with a Cooling Finish
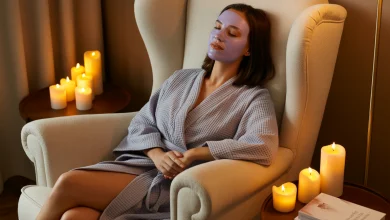
After using gua sha on each area, I go to the cheeks and place the flat side down for about ten seconds. It’s a moment of calm that seals everything in. I have also tried this when the lights are off, concentrating on my breathing. Pure self-care.
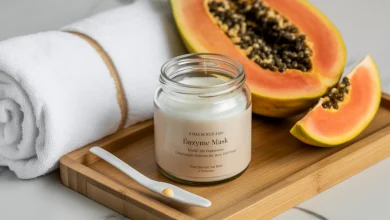
Best Oils to Use with Gua Sha
Choosing the right oil enhances the whole experience. I’ve tested dozens — here are my top picks:
- Rosehip Oil is really hydrating, so it is a top choice for those with dry or mature skin.
- Squalane: Lightweight, non-comedogenic, and suitable for all skin types.
- Jojoba Oil is gentle and perfect for people who have sensitive skin or suffer from acne.
- If I want my skin to glow and appear fresh and bright, I use Vitamin C Serum.
I discovered just how much a rich oil can clog my pores by trying it once. Always patch-test first.
Gua Sha Do’s and Don’ts
These ideas should have been shared with me when I was getting started:
Do:
-
- Use light, consistent pressure.
- Remember to wash your tool off using soapy water after using it every time.
- Make it a habit to practice – just three sessions a week can be very effective.
Don’t:
- Use on dry skin — always apply oil first.
- Glide over active breakouts or rashes.
- Rush through it. This is your moment — enjoy it.
When You’ll Start to See Results
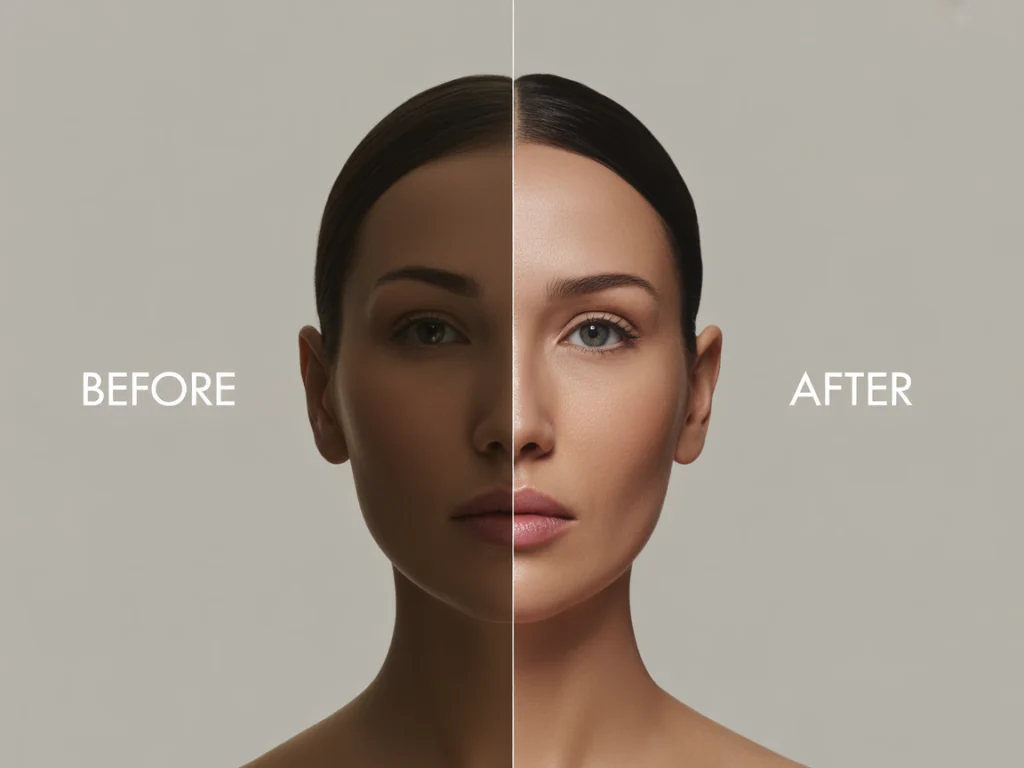
A few uses later, I began to feel calm and saw a freshness to my skin. Within approximately two weeks, the swelling I had under my eyes was much less. Regular use for four weeks made my jawline look better defined and gave me more noticeable cheekbones. It’s not overnight magic — it’s better. It’s sustainable and calming.
Final Thoughts: What Gua Sha Has Taught Me
Skincare is only part of what to gua sha means to me now — it’s also a form of self-care. I find that it motivates me to take it slow, notice how I’m doing and pay some attention to my skin.
- Puffiness and tension were removed with better results than I had hoped for.
- It helped me develop a daily habit that feels fancy, but I only need a few minutes for it.
- I can really see how my face looks different now, mainly around the cheekbones and jawline.
- I have developed a stronger relationship with my skin as a result.
- And honestly? It’s fun. And beautiful. And totally mine.
What About You?
Have you tried using a gua sha tool? Which technique or type of oil do you usually choose to use with it? If you have tips or experience, I’d love to read them in the comments below.