Have you ever stood in front of the mirror with a gorgeous eyeshadow palette in hand… and no idea what to do with it? I’ve been there. I still remember one vacation where I packed five palettes and ended up using none of them because I was too overwhelmed. Eyeshadow can feel intimidating, but I promise—it doesn’t have to be.
Over the years, I’ve tested dozens of techniques, brushes, and formulas. I’ve made every mistake (yes, including shimmer in the crease—yikes), but I’ve also found what truly works. In this post, I’ll walk you through my favorite beginner-friendly eyeshadow application methods that actually look good and feel doable.
Whether you’re just getting into makeup or want to upgrade your everyday look, this guide is for you.
Eyeshadow Basics You Need to Know First
Before we dive into techniques, let’s talk essentials. Eyeshadow comes in many forms—powder, cream, stick, and even liquid. Each one behaves differently, and your tools matter too. You don’t need every brush on the planet, but a few good ones go a long way.
When choosing colors, a good rule of thumb is to start with your eye color:
- Brown eyes: bronze, plum, navy, and gold
- Blue eyes: copper, warm browns, peach
- Green eyes: mauve, burgundy, taupe
- Hazel eyes: earthy greens, purples, pinks
Trust me, once you match the shade to your natural tones, the results are magic.
9 Step-by-Step Ways to Apply Eyeshadow Like a Pro
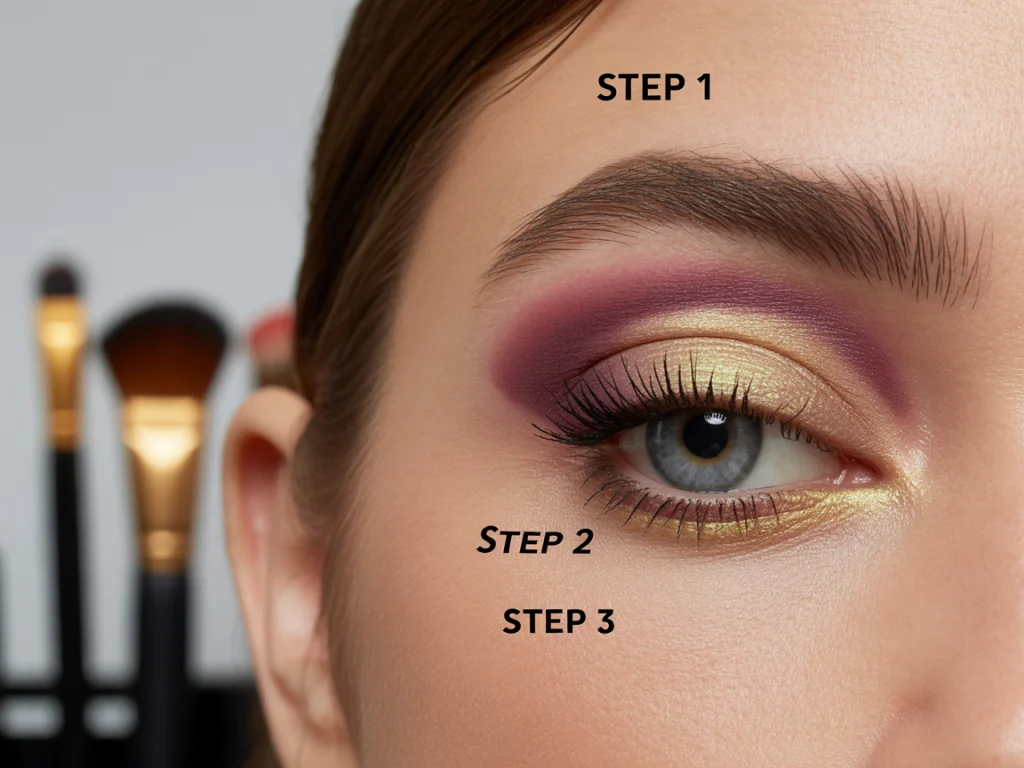
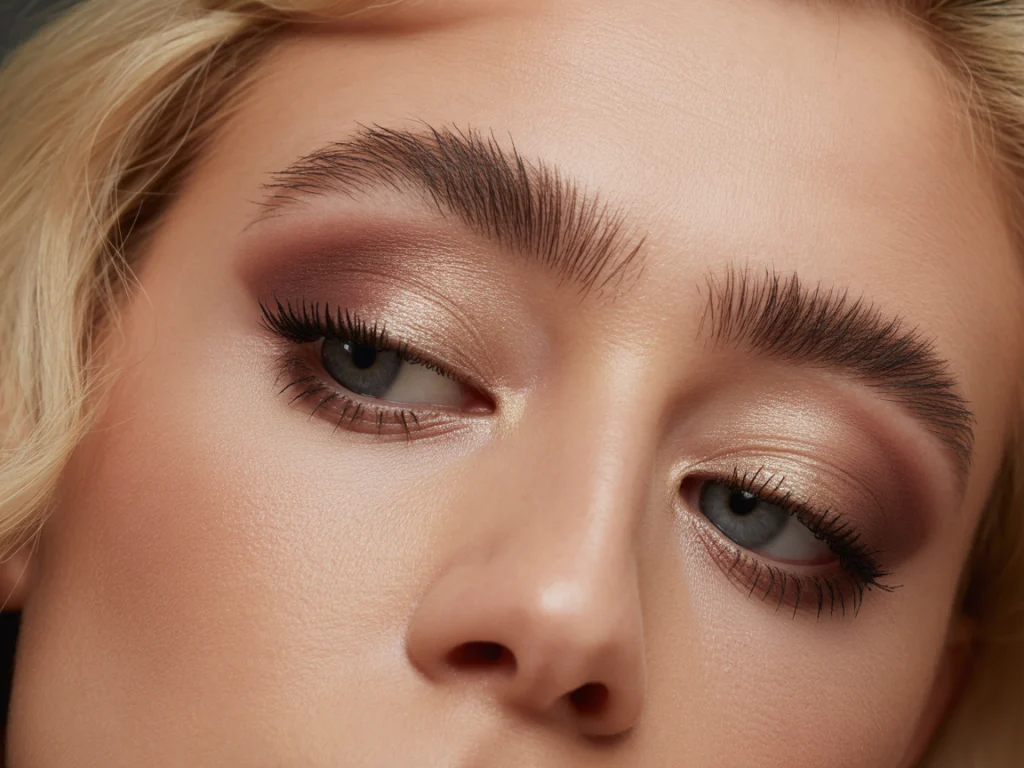
1. The Classic 3-Shade Look (Base, Crease, Highlight)
This is where I started. You apply a neutral base all over your lid, a darker shade in the crease, and a shimmer on the inner corner or brow bone. It gives your eyes shape, depth, and dimension without looking heavy. This was the look I wore to my first big job interview—it made me feel polished but not overdone.
2. Monochrome Wash for Lazy Days
When I’m in a rush, I reach for one shade—usually a taupe or rose gold—and swipe it across my lids with my finger. It’s fast, flattering, and gives just enough glow to feel put together. I discovered this method on a trip to Italy when I had no brushes with me. Game changer!

3. Smokey Eye for Beginners
A full smokey eye can feel intense, but a beginner version is all about smudging. I like to use a dark pencil eyeliner and blur it out with a smudge brush. Then I add a coordinating eyeshadow on top to set and soften the look. I often do this for dinner dates—it looks sultry but takes under five minutes.
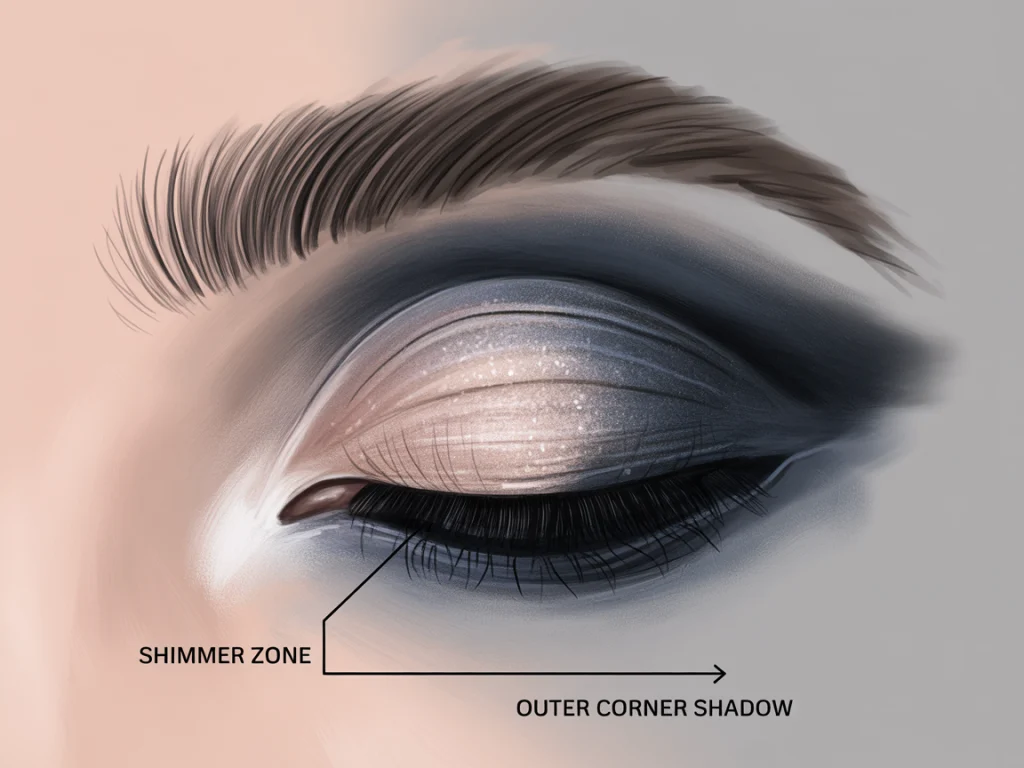
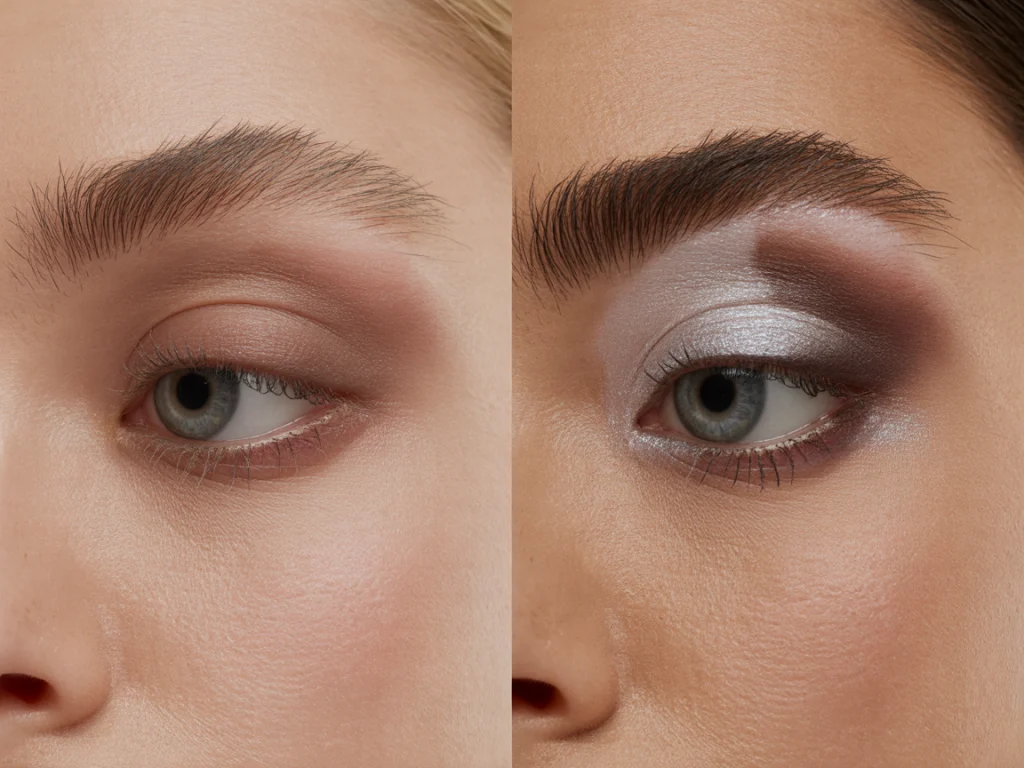
4. The Halo Eye for Bigger Eyes
Halo eyes place shimmer right in the center of the lid and matte on both the inner and outer corners. This creates a rounded, glowing look that makes your eyes pop. I first tried this look for a wedding and was surprised how it made my eyes look bigger and brighter in photos.
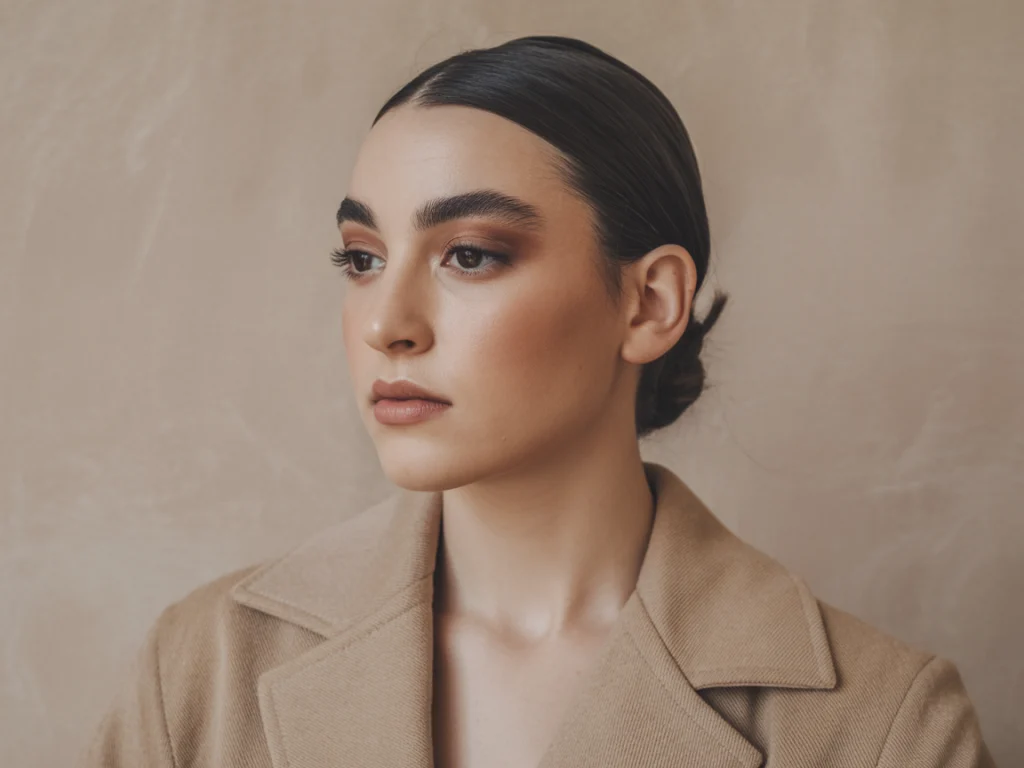
5. Matte Minimalist Look
This is my go-to for workdays. A soft matte shadow in a neutral shade like beige or mocha gives structure without drawing too much attention. I use a fluffy brush and blend just above the crease. It’s effortless, modern, and perfect for a clean aesthetic.
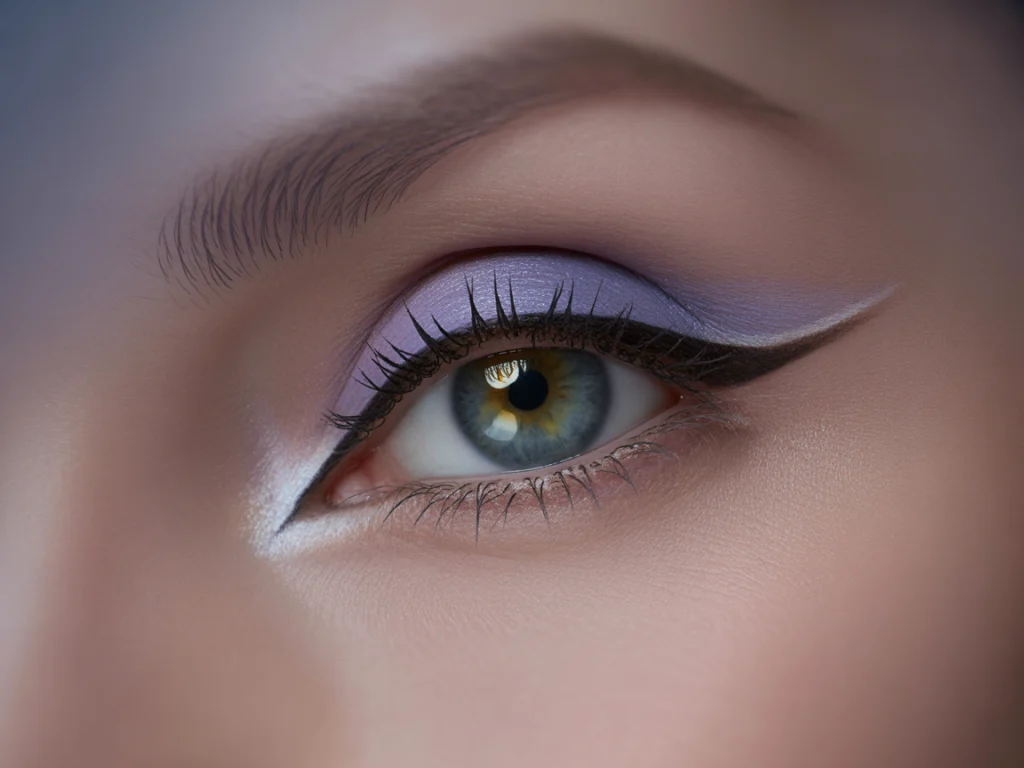
6. Color Pop on the Lower Lash Line
Feeling playful? Keep your upper lid neutral and smudge a bright color like teal, lilac, or green along the lower lash line. It’s subtle from a distance but catches the light beautifully. I learned this from a makeup artist during a festival shoot, and it’s now my favorite summer twist.

7. Quick Swipe with a Stick
Eyeshadow sticks are the ultimate in low-maintenance beauty. I keep one in my bag for on-the-go touch-ups. Just swipe across the lid, smudge with your finger, and you’re done. This method has saved me during unexpected Zoom calls more times than I can count.

8. Two-Tone Gradient
This one adds a bit more sophistication. I blend one shade from the inner half of the lid and another from the outer half, meeting and softening them in the center. It works best when the shades are in the same family—like champagne and bronze. It’s perfect for events where you want to look polished but not overly dramatic.
9. Glossy Lid Effect
For editorial or “cool girl” looks, try applying a clear gloss or balm over a soft shadow. It’s not for long wear but perfect for photos. I did this once for a creative shoot with a friend and loved the dewy, high-fashion vibe.
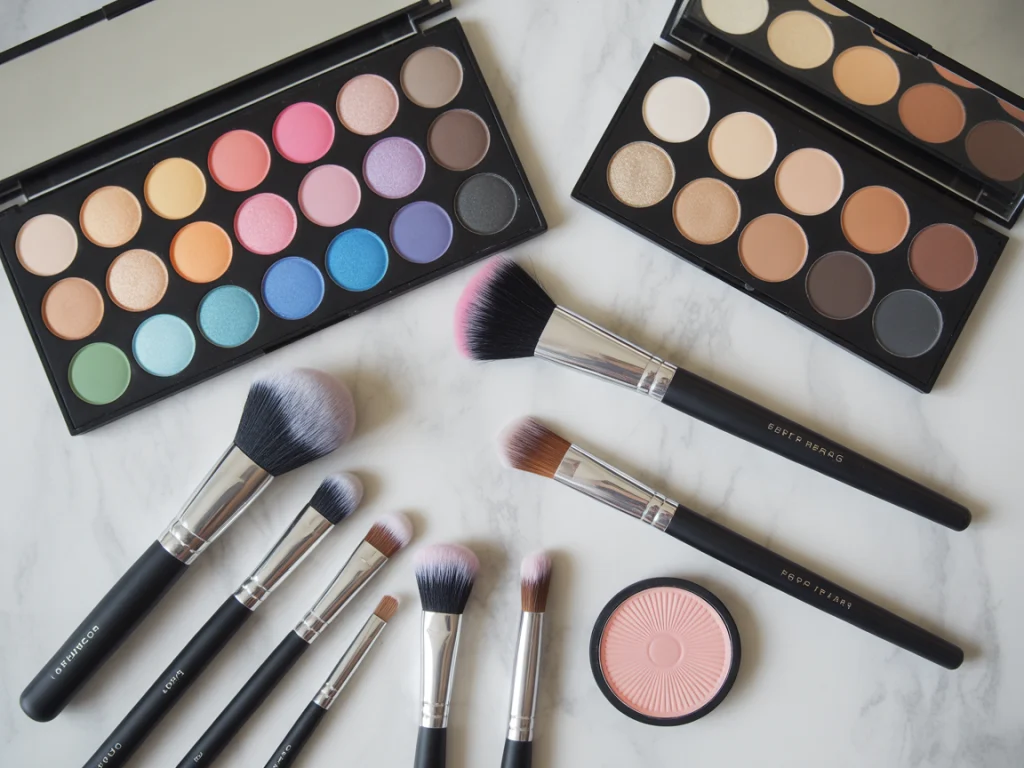
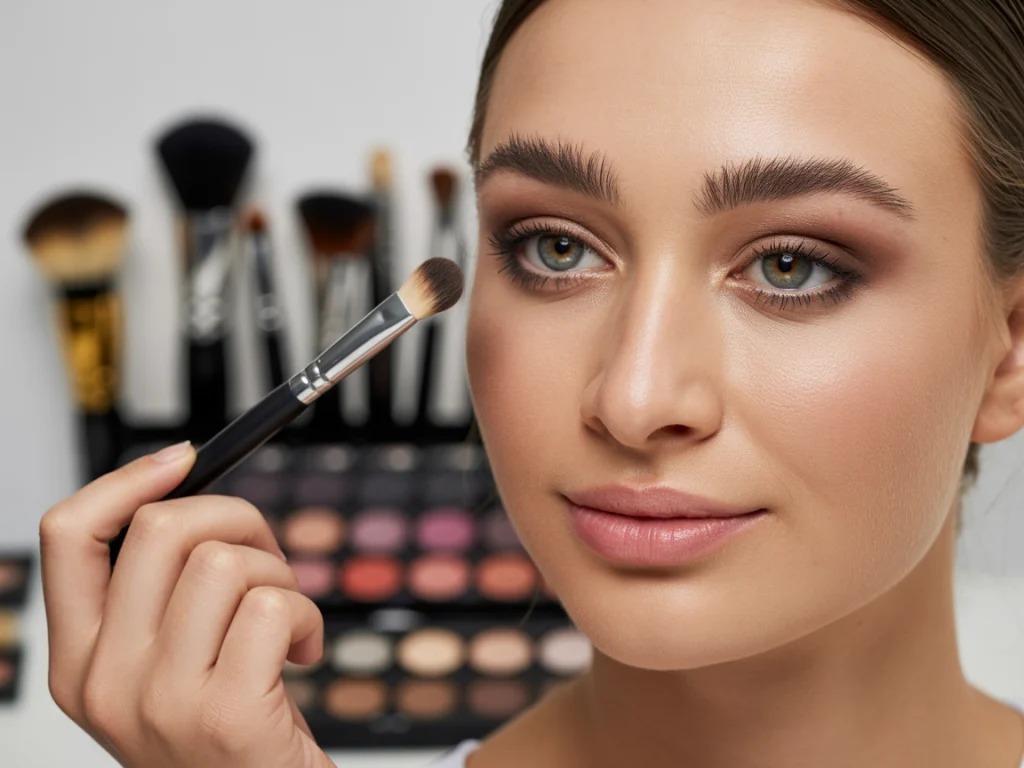
Tools & Brushes You Really Need (And What You Don’t)
You don’t need a whole toolkit. Just a few essentials will do the job beautifully. Here’s a quick breakdown:
| Tool | Must-Have? | Best For |
|---|---|---|
| Flat shader brush | Yes | Packing color on lid |
| Fluffy blender | Yes | Softening edges |
| Pencil brush | Optional | Detail or lower lash line |
| Angled liner brush | Optional | Using eyeshadow as eyeliner |
| Fingers | Yes | Cream shadows and quick looks |

Common Mistakes Beginners Make (And How to Avoid Them)
We all start somewhere—and these are mistakes I’ve made more than once. Here are a few to watch out for:
- Using too much product on your brush
- Skipping eye primer or base
- Not blending long enough
- Placing shimmer directly in the crease
- Using the wrong brush for the job
Don’t worry if you’ve done one (or all!) of these. Makeup is a learning curve, and part of the fun is figuring it out.
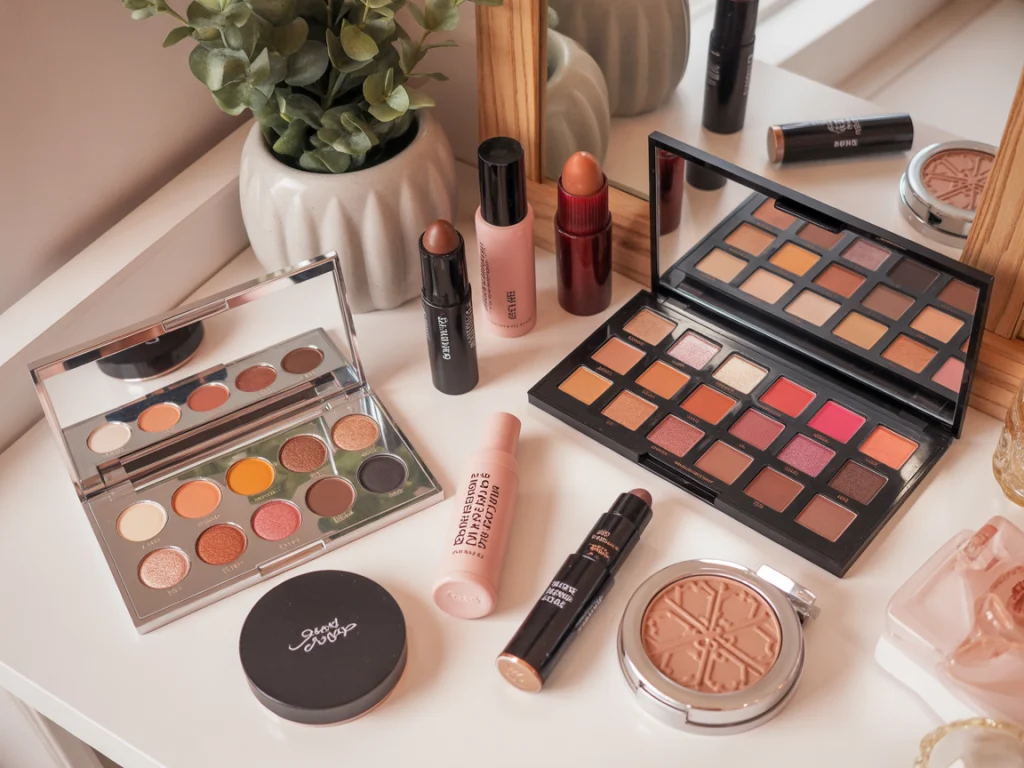
My Go-To Products and Favorite Palettes
These are the products I reach for over and over again:
- Urban Decay Naked Mini Palettes – perfect for travel
- e.l.f. No Budge Eyeshadow Stick – affordable and foolproof
- NYX Ultimate Shadow Palette – great range for all skin tones
- Rare Beauty Discovery Palette – buttery, blendable, and unique shades
- Milani Eyeshadow Primer – makes any shadow last all day
Final Thoughts
Here’s what I’ve learned about eyeshadow after years of playing, blending, and yes, messing up:
- Start simple and build from there—one good look is better than ten rushed ones.
- Blending is key. Take your time. It makes all the difference.
- Tools matter. You don’t need many, but the right ones change everything.
- Experiment! Eyeshadow is a form of play, not pressure.
- Less really is more—especially in natural light.
What works best for you when applying eyeshadow? Do you have a favorite method or go-to product? I’d love to hear your tips and try something new. Let’s swap ideas in the comments!