Haven’t we all wondered what to do with our thick acrylic nails when it’s time to remove them without harming our real nails? I’ve been there — more than once. When I first tried out, I must have done every wrong thing possible. That’s long past, because I now know how easy it is to do safely and comfortably right where I live.
This post will show you how to remove acrylic nails safely, without any hassle. If you’re starting out on your own or just want to change things up, I’m ready to help you.
Who this article is for:
-
- Anyone growing out their acrylic nails at home
- DIY beauty lovers wanting to skip the salon
- Anyone who has damaged their nails before and wants a kinder option
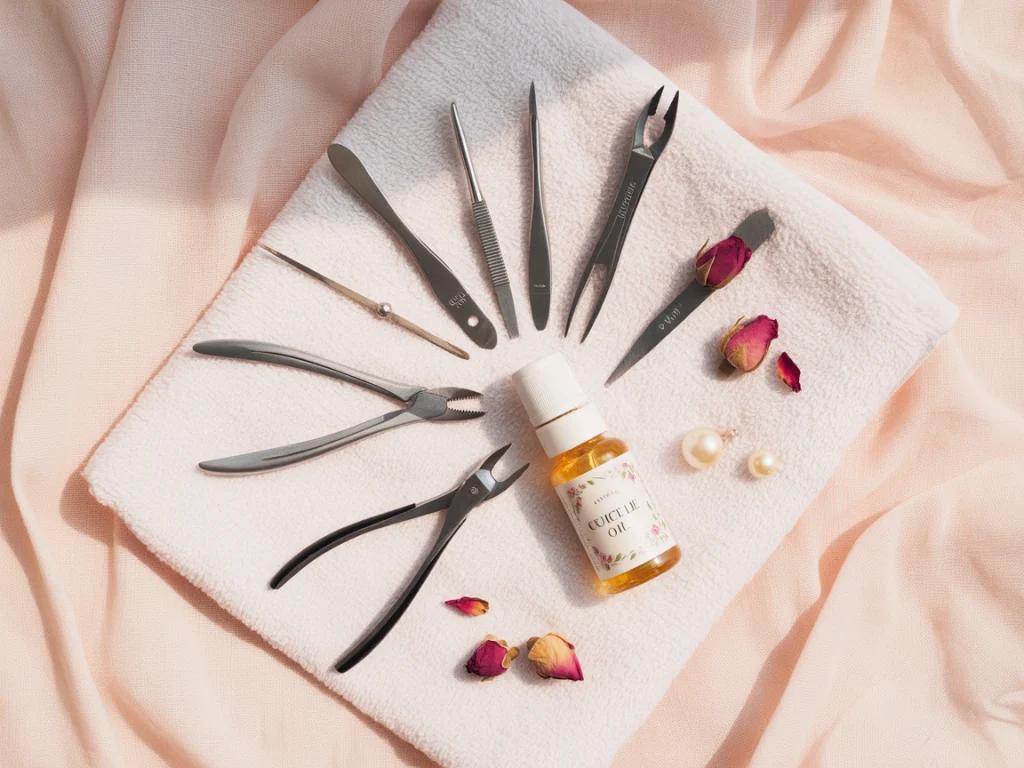
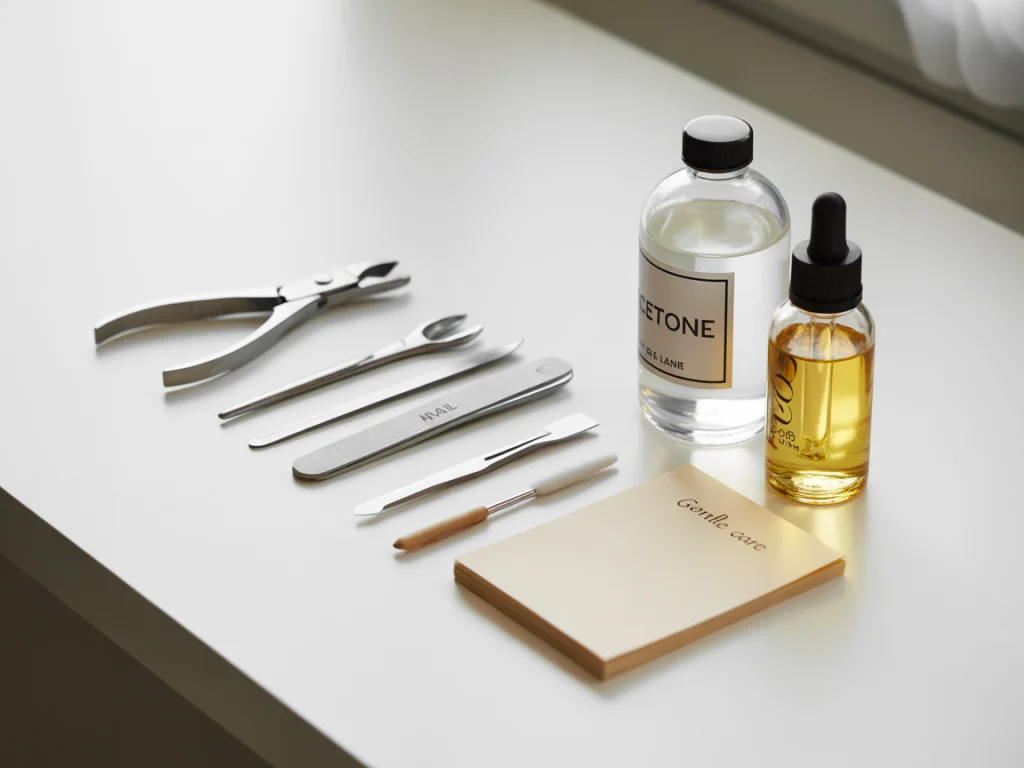
What You’ll Need Before You Start
Before diving in, gather your supplies. Getting everything organized makes everything run smoothly and with less stress.
- 100% pure acetone
- Nail clippers
- Nail file (coarse grit)
- Cotton balls
- Foil or nail clips
- Cuticle oil
- Nail buffer
- Small glass bowl (optional)
Many of these things are ones you probably have in your collection already.
Step-by-Step: How to Remove Acrylic Nails
Step 1: Trim the Length
Use a good nail clipper to remove the excess acrylic first. As a result, you won’t have to remove as much AHA from your skin. Ensure that you don’t chop right into the real nail, always leave some space for safety.
Step 2: File the Top Layer
With a coarse nail file, cover over the top shiny layer of your acrylic nails. It opens the way for the acetone to penetrate well. Work only on the acrylic part of your nail, rather than filing your natural nail.

Step 3: Soak Cotton in Acetone
Pour some 100% acetone onto small cotton balls and stick one on every nail. You can put foil around your nails to hold them up or simply use clip-on nails. This keeps the acetone in contact and prevents evaporation.
Step 4: Wait Patiently (15–30 Minutes)
This is the perfect time for a break. I threw on a face mask, got a matcha latte and began browsing TikTok until my face was done. After about 20 minutes, check one nail. If it’s soft and lifts easily, you’re ready.
Step 5: Gently Push Off Acrylic
Scrape at the acrylic layer very lightly with a wooden stick or metal pusher once it has been softened. No rush — if things are slow or the sausage refuses to cook, just wrap it and leave it for another 5–10 minutes. Patience here is everything. The more you rush, the more you risk damage.
Step 6: Buff and Hydrate
As soon as all acrylic is gone, smooth your nails with buffing to make them smoother. Then, apply cuticle oil and a thick hand cream. Your nails will thank you.
Alternative Methods (If You Don’t Have Foil or Acetone)
1. Warm Water and Oil Soak
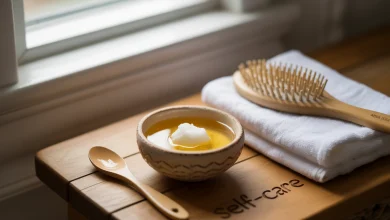
Warm water and then add a few tablespoons of olive or coconut oil to it. Soak for 30–40 minutes. It’s not fast, but it’s very gentle, so it’s best if your nails are easily injured.
2. Acetone Bowl Method
Soak your nails in acetone for 10–15 minutes. Cover your hands with a towel to hold the heat inside and make the process go more quickly. It’s more intense than foil, but can be drying.
3. Store-Bought Removal Kits
Some manufactures provide all the parts you need, including clips, pads, acetone and pushers, already in the box. I tested one myself when I went out over the weekend and it did pretty well.
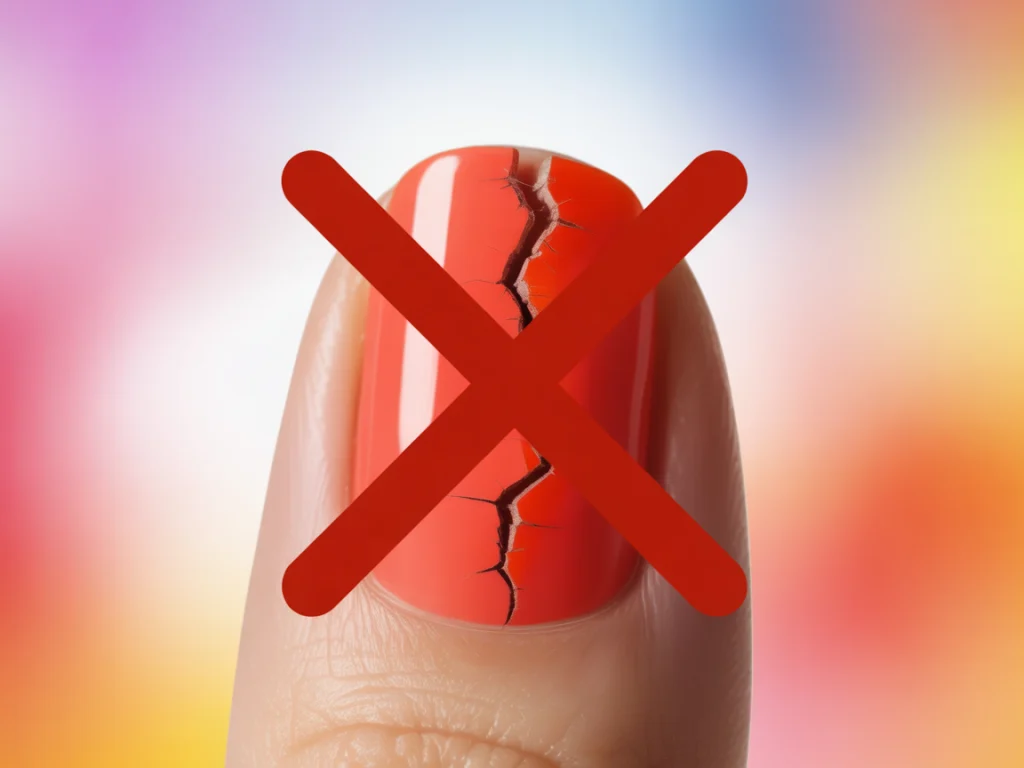
What NOT to Do When Removing Acrylics
I’ll cover the biggest mistakes I’ve made so that you won’t have the same problems.
- Don’t leave out moisturizing afterward, since acetone can dry your skin out.
- Don’t use metal tools too harshly: Gentle pressure only. Let the acetone do the work.
- Never hurry the soak, since it can damage your hair instead of benefiting it.
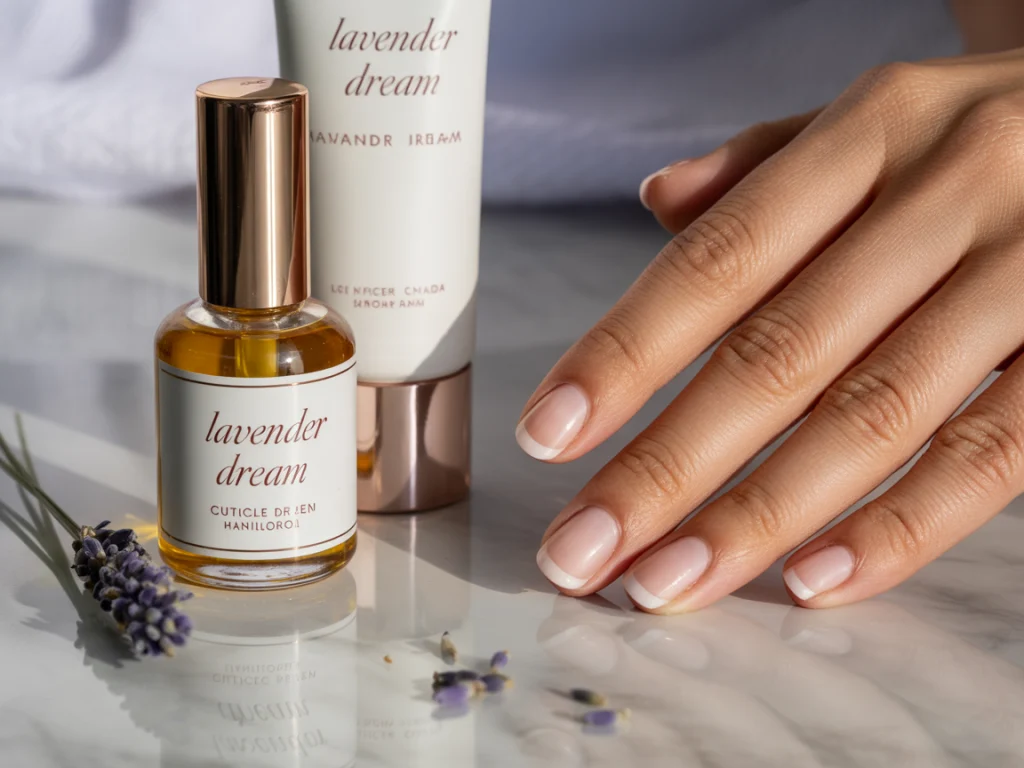
Post-Removal Nail Care Tips
Removing acrylics can make your nails softer or a bit thinner. That’s normal! Following this routine can help your girls return to their best shape.
| Day | Action | Products to Use |
|---|---|---|
| Day 1 | Hydrate & apply cuticle oil | Jojoba oil, shea butter hand cream |
| Day 2–4 | No polish + gentle buffing | Nail strengthener, gentle buffer |
| Day 5–7 | Add clear polish or base coat | Hydrating base, nail serum |
| Day 8+ | Resume regular manicures | Non-acetone remover, nourishing base |
Final Thoughts
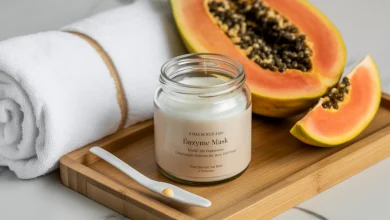
Honestly, I used to dread removing acrylics. It felt messy, time-consuming, and scary. But now, it’s become part of my self-care ritual. I light a candle, turn on some music I like and ensure it’s something I look forward to doing.
If you look after your nails gently and give them time, you’ll see how strong and healthy they get.
Here’s a quick recap:
- Trim and file the acrylics
- Soak with acetone and patience
- Push gently — don’t force
- Hydrate and give your nails time to recover
Have you ever tried removing your own acrylic nails? What worked best for you? I would appreciate hearing any ideas or experiences you have below!