Has this ever happened to you: You try a French twist and it just turns out looking messy? I definitely have. For my first time, I attempted a wedding in Miami where things didn’t go exactly as planned. Still, with time, I figured out the way to improve in this timeless genre, and now I can’t stop working on it.
In this piece, I will guide you through doing a French twist, provide a list of the needed tools, and share tips you should keep in mind. With these tips, you can have a modern brunch ensemble or an elegant hairstyle for a big occasion.
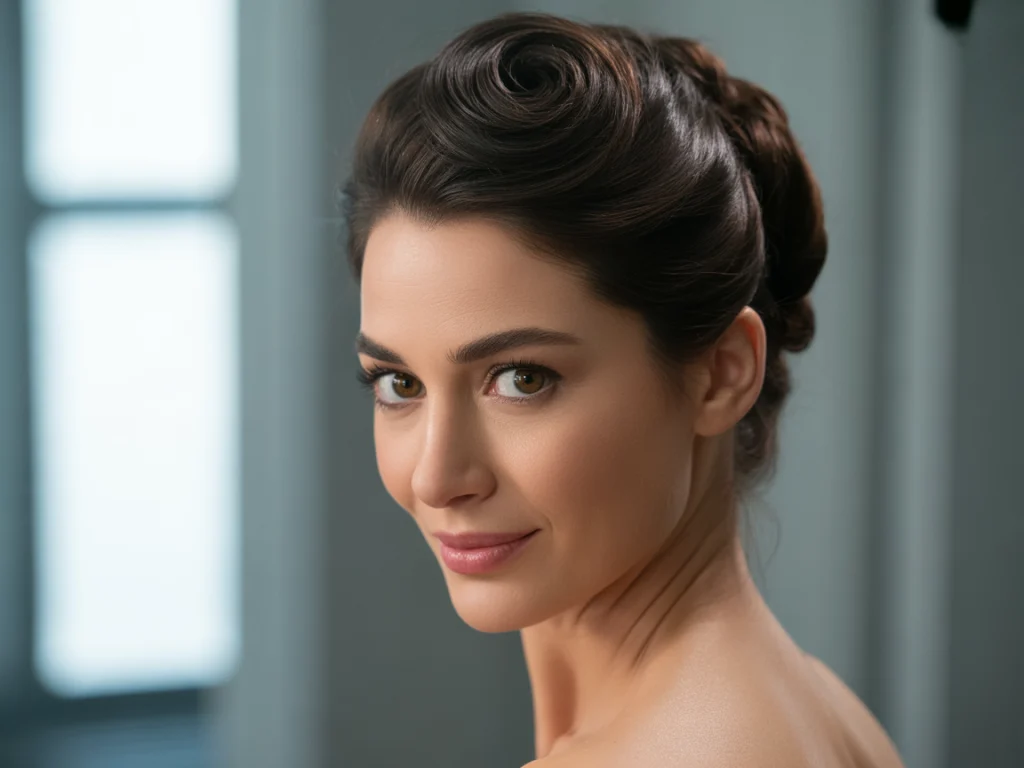
A French twist is a classic style that never goes out of fashion
French twists make any hair updo easy and stylish. It started being popular in the 1950s and has not cooled down since. Infinite updates and new styles have been done to the Audrey Hepburn little black dress. This scent suits romantic dates, your big day, and can also lift your mood any time of the week.

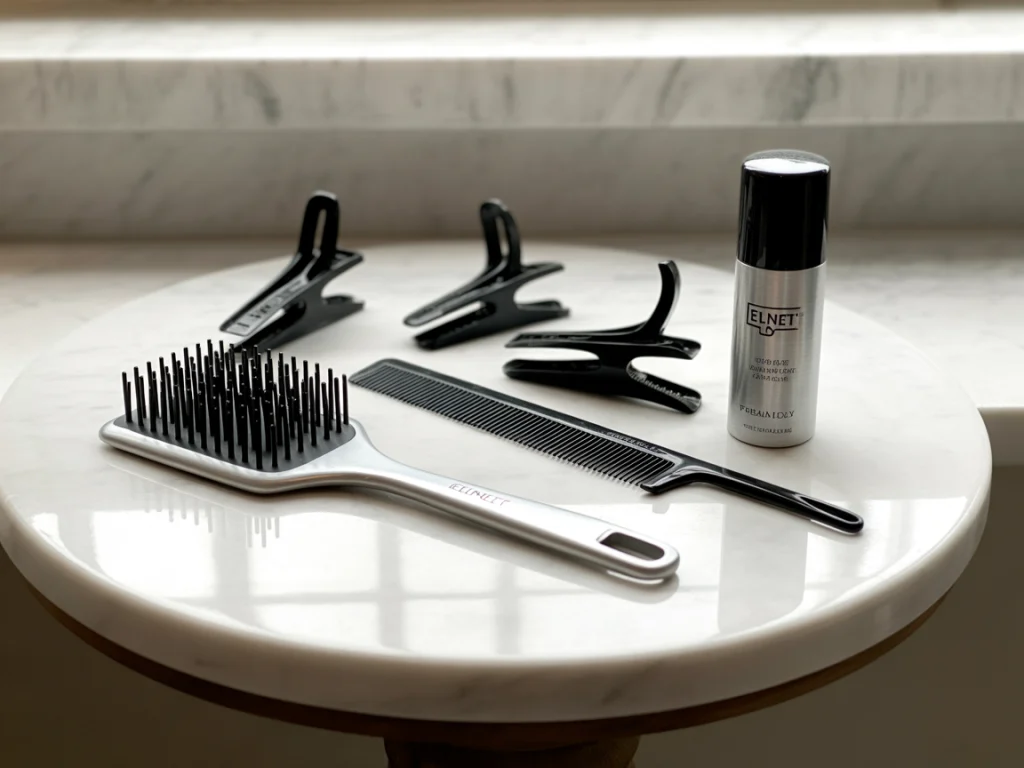
Hair Prep: What You Need Before You Begin
Before we jump into twisting, let’s talk prep. When your hair is slightly dirty and dusty, you’ll achieve the best look for this hairstyle. I often go for this look after applying some dry shampoo and light texture spray on days two or three.
| Hair Type | Tools to Use | Tips |
|---|---|---|
| Fine Hair | Teasing brush, volumizing spray | Add texture before twisting for volume and grip |
| Thick Hair | Strong bobby pins, setting spray | Use more pins and section your twist |
| Curly Hair | Leave-in conditioner, smoothing cream | Don’t brush too much—work with your texture |
How to Do a French Twist Step-by-Step
1. Start with Textured Hair
Hair with some grip holds better, trust me. When your hair is wet from washing, apply a little dry shampoo or mousse. On my Italian vacation, I decided to try a French twist after getting out of the pool; however, it wouldn’t last. Lesson learned: always prep!
2. Brush Hair to One Side
To style your hair, use your hands to comb it to one side, whether that is left or right. The twisting effect starts with the uniform side sweep. The bristles should only have a little movement to prevent the hair from looking clumpier.
3. Secure Hair at the Back
Hairstyle should be pinned straight up along the back of your head. This creates the spine where your twist will sit. I prefer to place six bobby pins like steps on a ladder. I was once told by a friend that using a comb with pins helps a lot—it’s amazing!
4. Twist the Length Inward
Twist the undone part toward the end that is already pinned. To finish the twist, fold the ends into the roll and pull it up beside the base. Be patient—it may not be perfect the first time. To feel ready for a dinner party, I had to practice saying this line ten times beforehand.
5. Secure the Twist with Pins
Insert bobby pins at an angle to hold the twist in place. Crisscross them for a stronger hold. If some stands slip, it’s okay to adjust them afterwords. Finish with a bit of strong-hold hairspray.
6. Style the Front and Bangs
Now the fun part—frame your face. I choose to style my hair by pulling the sides away or tucking my bangs off my face. Last weekend at the spa, I curled my two front strands and mixed it with a lovely twist to match.
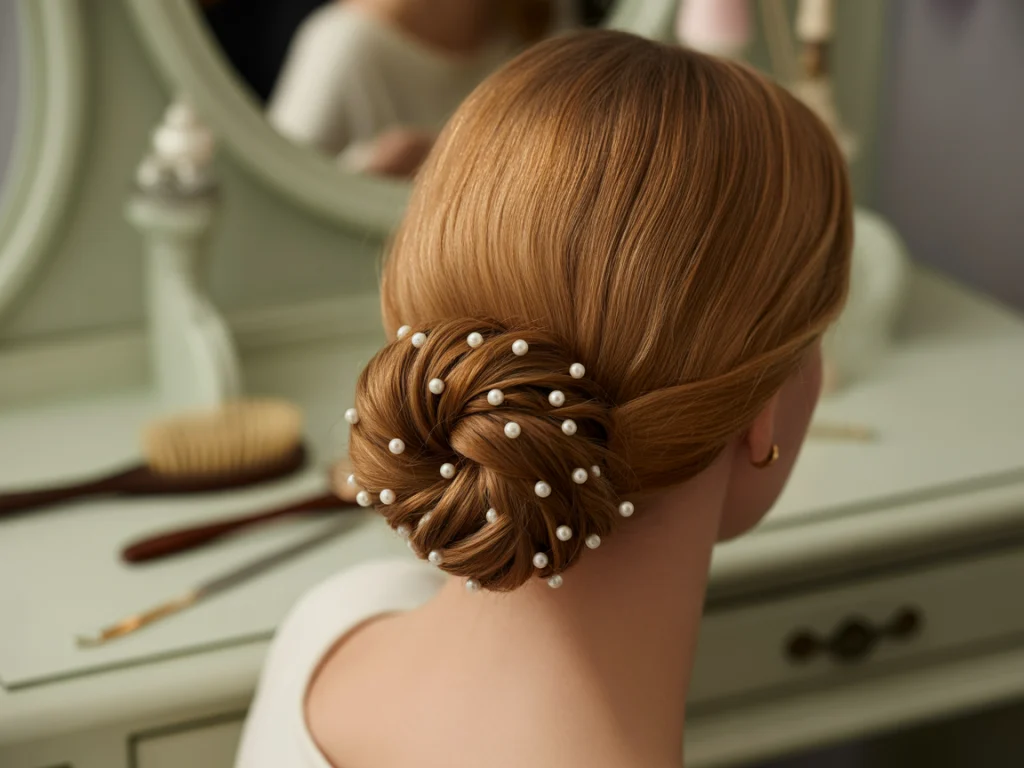
7. Final Touch: Smooth, Spray, and Accessorize
Look for flyways, tidy up any bumps, and set your style using hairspray. If the event is special, I’ll attach some pearl pins or a comb for a fashionable look. A claw clip can be worn so that it is chic and trendy.
Common Mistakes and How to Avoid Them
Some errors are easy to commit, even when you practice, which can cause your French twist not to work. Here’s what to watch for:
- Starting with freshly washed, slippery hair
- Using only a few pins (always account for more than what you believe you’ll use).
- Skipping texture prep or backcombing
- Forgetting to anchor the base with enough support
- Don’t forget to view your back in the mirror, as angles are important.
Styling Ideas for Different Occasions
The French twist isn’t just for weddings. It can be styled to suit almost any vibe:
-
- Work-ready: Sleek with a side part and minimal pins
- Wedding guest: Voluminous twist with pearl or gold pins
- Dance recital: Tight and secured with hairspray for movement
Soft, face-framing curls coupled with a gentle clip look fabulous at the weekend brunch place.
Mix and match based on your mood and outfit. This style truly adapts to your life.
Frequently Asked Questions
Can I do this on short hair? Yes! Add a creative touch and secure the ends with a couple of pins or a clip.
Will it work for curly hair? Definitely. Just work with your texture—don’t over-brush.
Hold your hair in the crown area, twist it, and then secure it. You may also try inserting a strand of hair into the base of your head.
What I Have Learned from More Than 10 Years of Twisting
Daily, I find myself including the French twist as a hint of my elegance. Here are a handful of lessons I have acquired over the years:
- Practice makes polished—but don’t stress over perfection.
- The difference can be huge with the right set of tools.
- This style works with any type of hair; you just have to change the prep you use.
- Accessorizing adds instant personality.
- Even a “messy” twist can look intentional and beautiful.
So—what about you? Have you ever practiced a French twist style at home? What worked or flopped for you? I’d love to hear your stories in the comments!