Have you ever stared at those stunning Dutch braids on Pinterest or TikTok and thought, “I could never pull that off”? I’ve been there. When I first tried to Dutch braid my hair, I ended up with a tangled mess that looked more like a bird’s nest than a braid. But after some trial and error (and a little advice from a friend during a beach vacation), I finally got the hang of it — and now I want to share every step with you.
In this post, I’ll walk you through exactly how to Dutch braid your hair step by step, even if you’ve never braided in your life. I’ll also share a couple of personal tips and tricks I’ve picked up over the years to help you avoid common mistakes and master this timeless style with confidence.
Why I Love Dutch Braiding (and Why You Might Too)
Dutch braids have become my go-to hairstyle for any occasion — whether I’m heading to a yoga class, going out for brunch, or just trying to keep my hair in place on a windy day. They’re chic, practical, and surprisingly easy once you get the hang of the underhand technique.
Who Will Benefit From This Guide
This tutorial is perfect for:
- Anyone with medium to long hair
- Busy women looking for an elegant, no-fuss style
- Those new to braiding and eager to learn
- Moms styling their daughters’ hair for school or events
Now, let’s get into it — here’s my personal 7-step Dutch braid routine.
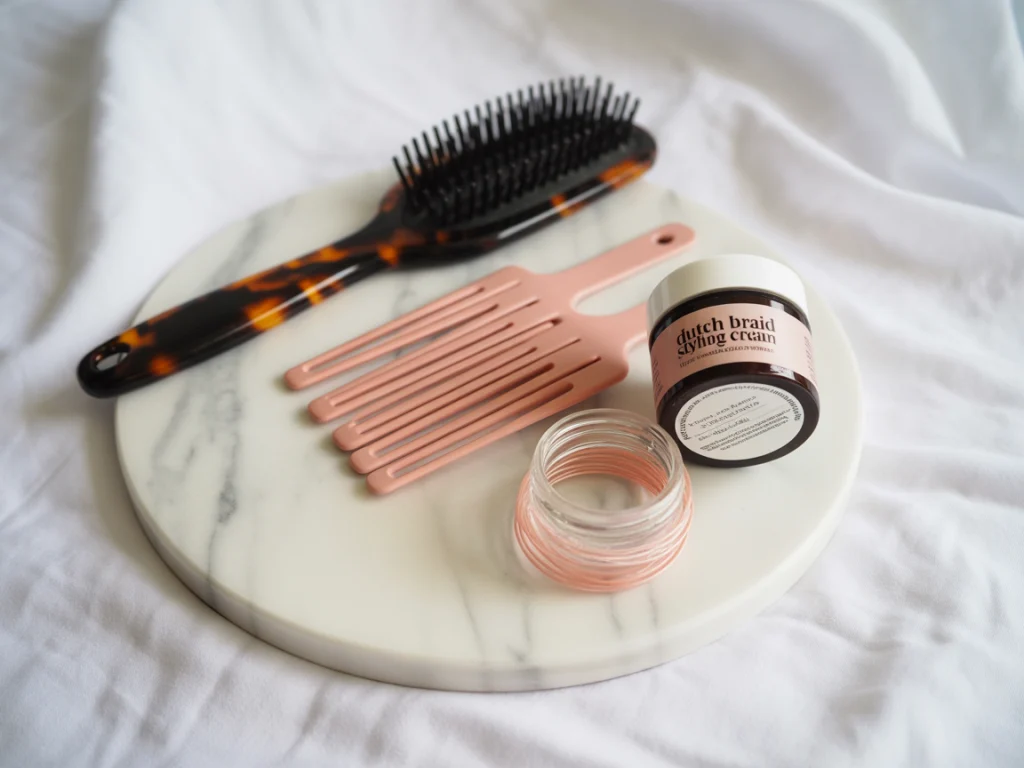
What You’ll Need Before You Begin
Before diving in, I always prep my tools. You don’t need anything fancy — just the basics to keep your braid neat and secure.
Here’s what I recommend:
- A detangling brush or wide-tooth comb
- Small elastics (preferably clear or close to your hair color)
- Hair clips to section off strands
- Light styling cream or water spray (optional for flyaways)
Having these on hand will make the process smoother and help your braid hold all day.
My 7-Step Dutch Braid Tutorial
1. Start With Brushed, Tangle-Free Hair
Always begin with smooth hair. I brush it out completely, especially at the ends, to avoid snagging. Sometimes I spritz on a bit of leave-in conditioner to help manage frizz and make the strands more pliable.

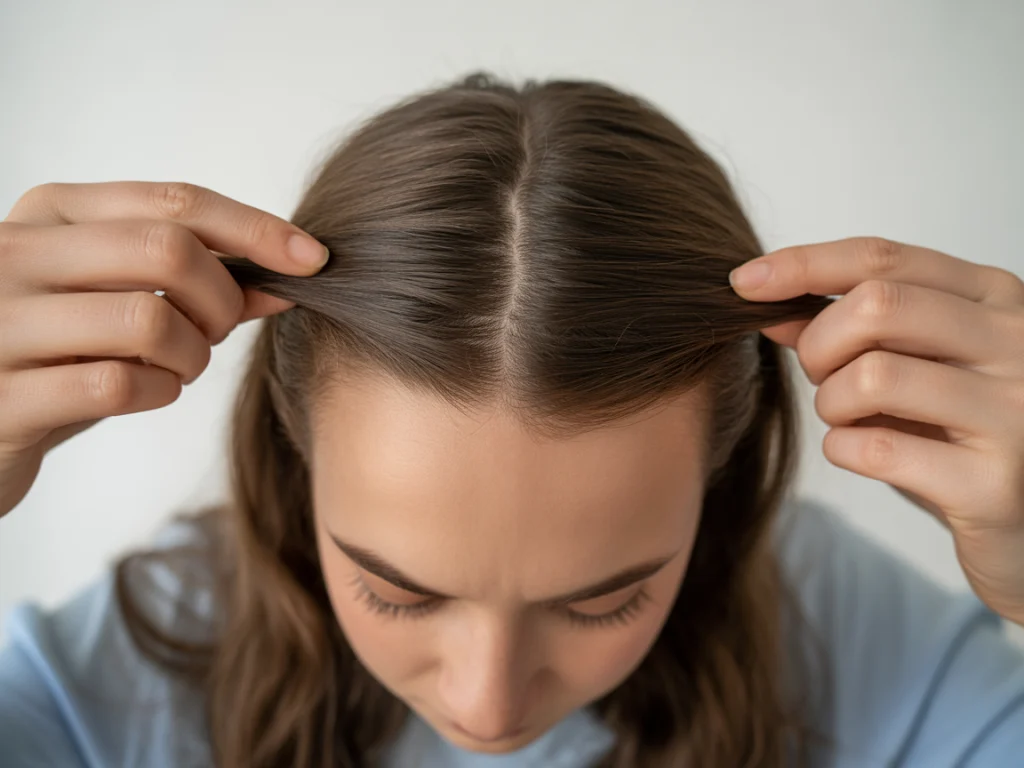
2. Create a Clean Center Part
Using a rat-tail comb, I part my hair right down the middle. When I want a more romantic look, I’ll do a side part instead. But for beginners, a center part is easier to manage evenly on both sides.
3. Section the Top Into Three Strands
I start with a small triangle of hair at the top of my head — just above my forehead. I divide it into three equal pieces: left, center, and right. This will be the anchor of your braid, so make sure it’s neat.
4. Begin the Underhand Braid
This is where the Dutch braid differs from the French braid. Instead of crossing strands over the middle, you cross them under. Start with the right strand — bring it under the middle. Then the left goes under the new middle. Keep it snug but not too tight.
5. Add Hair As You Go
This step took me the longest to master. As you braid, gather a small section of hair and add it to each outer strand before crossing under. I first learned this technique during a girls’ spa weekend — one of my friends braided my hair while we waited for facials. It was a game-changer.
6. Braid Down to the Nape
Once you’ve added all your hair into the braid, continue braiding the rest of the length normally. I usually go until there’s about an inch left and then tie it off with a small elastic. If I’m wearing it out for the day, I’ll double-tie just in case.
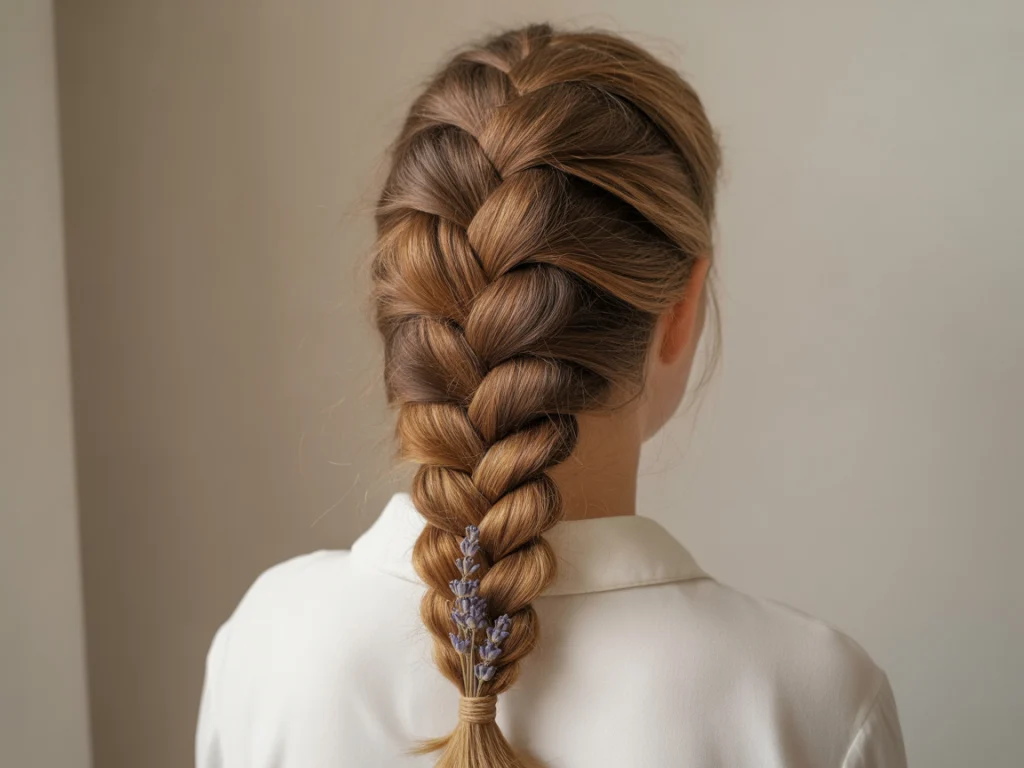
7. Gently Pancake the Braid
This part is optional, but it makes a big difference! Gently pull at the edges of the braid to “pancake” it — this gives it more volume and a softer look. I usually do this when filming beauty content for TikTok or when I want that effortless “boho” feel.

Common Mistakes (and How to Avoid Them)
It’s easy to get frustrated in the beginning. Here are a few common issues I’ve run into — and how to fix them.
- Too much tension: If your scalp hurts, you’re pulling too tightly. Loosen up a bit.
- Uneven strands: Always start with even sections and stay consistent as you add hair.
- Too much product: Styling cream is great, but too much can make your braid slippery.
- Loose ends: Use double elastics or a bit of hairspray if your braid keeps unraveling.
Learning from these slip-ups helped me become way more confident in my braiding.
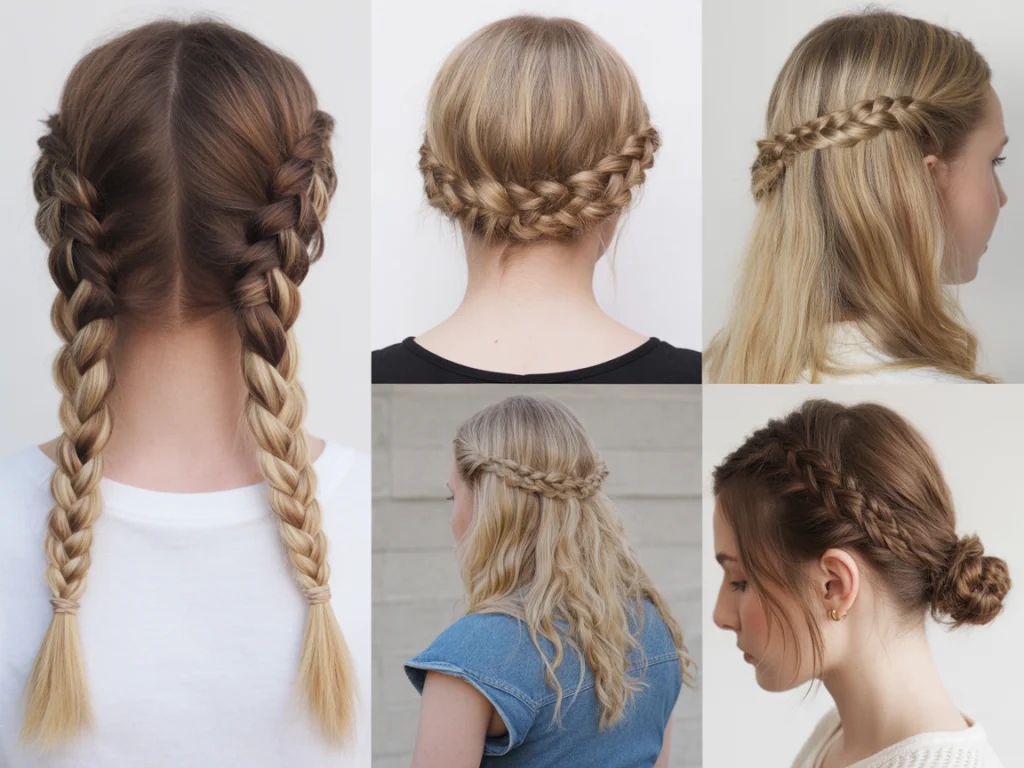
Styling Ideas for Dutch Braids
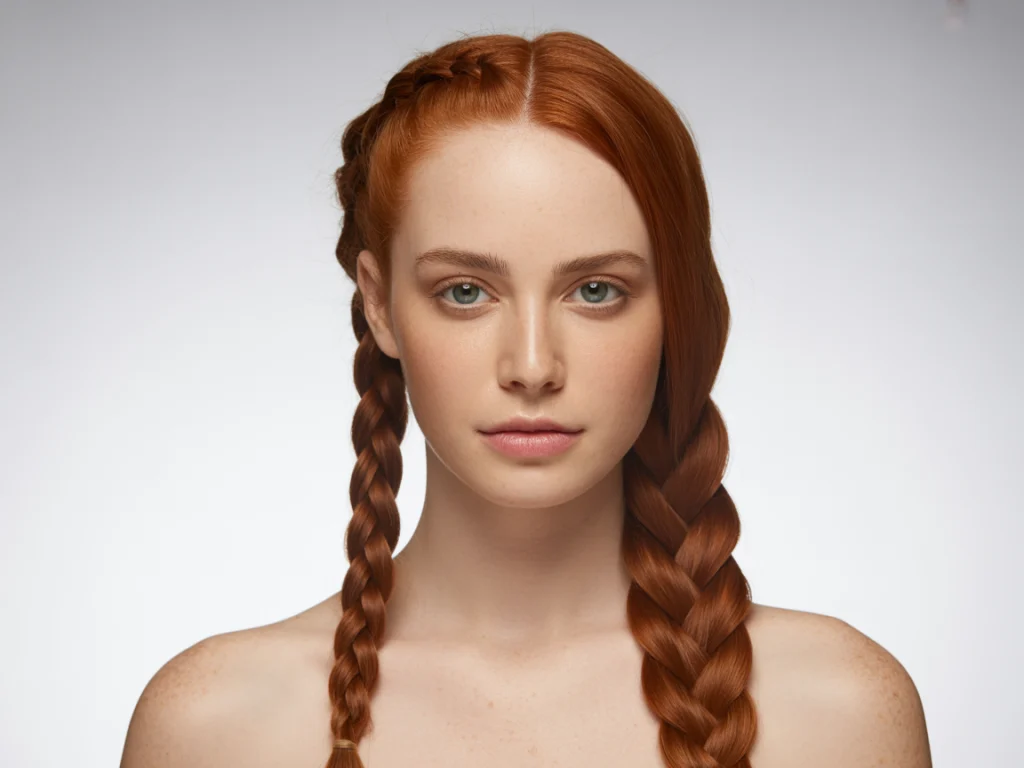
Once you’ve got the basics down, you can experiment with fun Dutch braid variations. These are some of my favorites:
- Double Dutch braids — perfect for the gym or weekend festivals
- Dutch braid crown — great for weddings or garden parties
- Half-up Dutch braid — romantic and effortless with loose waves
- Side Dutch braid into a messy bun — a cute date night look
FAQs About Dutch Braiding
If you’re just getting started, these quick answers might help:
| Question | Answer |
|---|---|
| Is it different from a French braid? | Yes! Dutch braids cross under, creating a raised effect. |
| How long does it take to learn? | With practice, most people get the hang of it in 3–5 tries. |
| Can I do this on short hair? | Yes, chin-length or longer works. Use pins for shorter layers. |
| Does it hold all day? | Definitely — it’s one of the most secure braid styles. |
Final Thoughts: Why I Always Come Back to Dutch Braids
I’ve tried a lot of hairstyles over the years, but Dutch braids remain one of my absolute favorites. They’re practical, timeless, and honestly make me feel a little more put-together even when I’m running late.
Whether I’m heading to the airport, attending a wedding, or filming a get-ready-with-me reel, this braid has never let me down. And once you learn the technique, it becomes almost meditative — something I actually look forward to doing.
Here’s what I always keep in mind:
- Don’t rush — braiding is a skill and gets better with time.
- Experiment — every head of hair is different, so find what works for yours.
- Have fun — even messy braids can be cute and charming!
Have you ever tried a Dutch braid? What tips or struggles have you faced along the way?